Start with the purpose of the junction
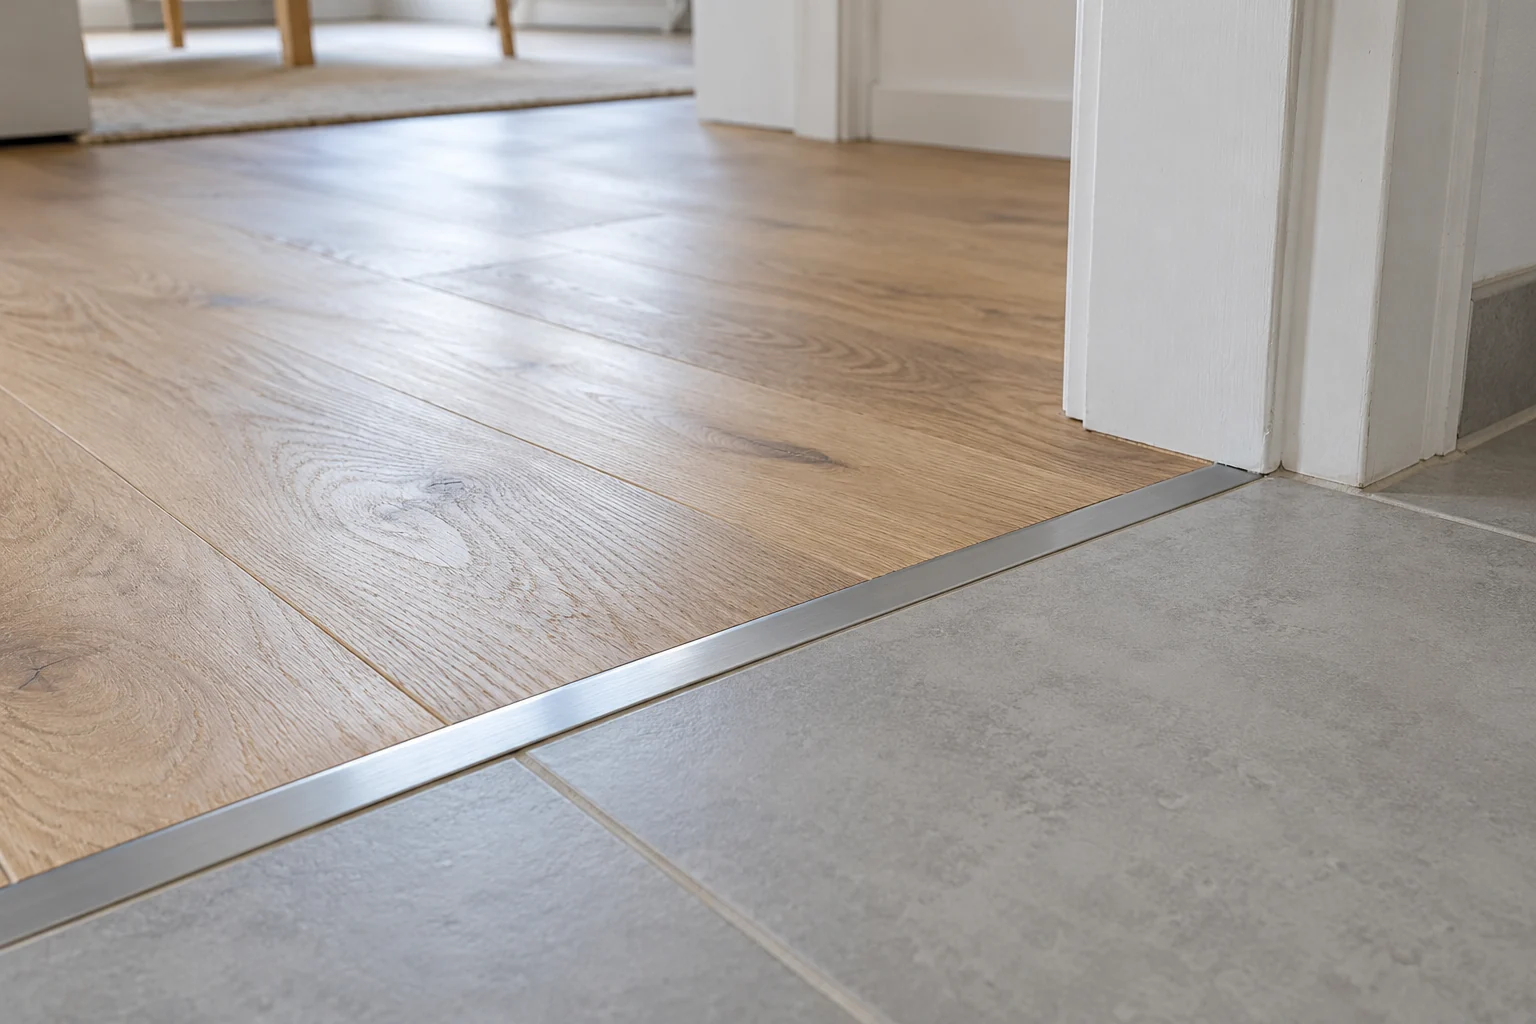
Number the places where a covering meets another floor or a fixed building element. Describe the intended result first: joining two surfaces, accommodating a height difference or finishing an exposed flooring edge. A photograph from above and a side view help identify each location clearly.
Product names vary. Transition profiles join floor surfaces; reducer or levelling profiles accommodate suitable differences in level; end profiles finish a covering at an edge or fixed element. Their applications can overlap. Carl Prinz distinguishes these functions within its ECO-CLIP system. The instructions for the exact item remain decisive.
If the flooring type is still undecided, select it first. The profile can only be coordinated properly once both coverings and their installation methods are known. Record skirting along walls as a separate part of the plan.
Distinguish finished levels from profile dimensions
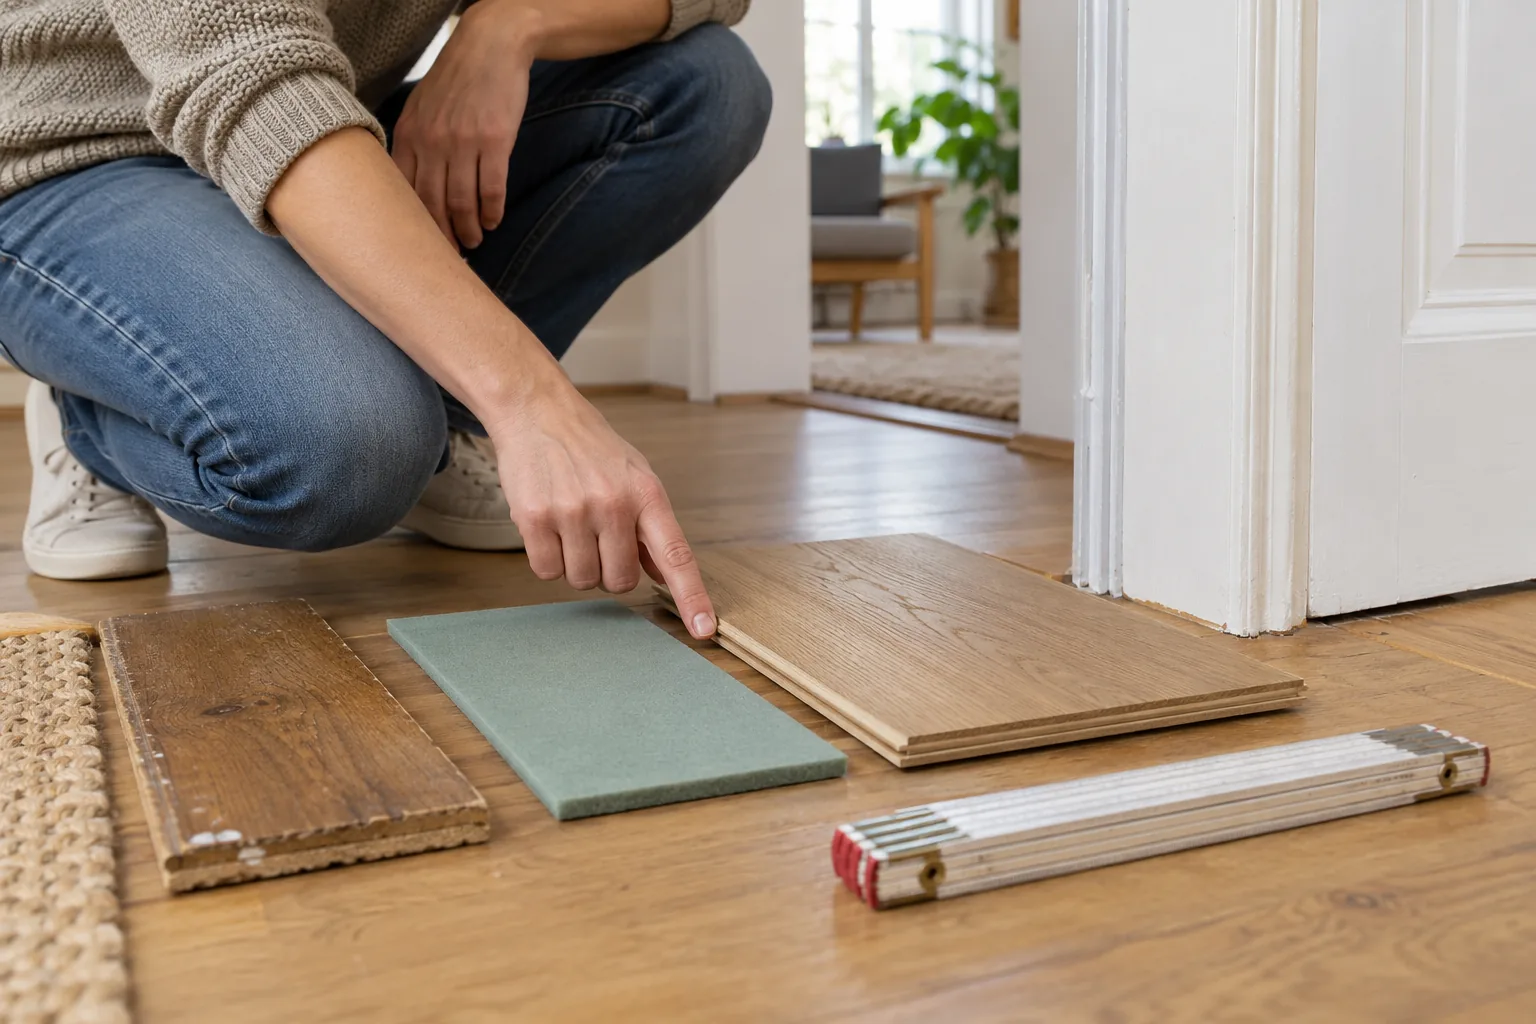
Have both finished surfaces measured from the same height reference. Include the actual layers planned, with any necessary preparation. Record which existing flooring will remain. If that is unresolved, mark the heights as provisional and wait for confirmation of the relevant dimensions before ordering the profile.
A simplified example: if finished surface B is 4 mm above A, the difference in level is 4 mm. This does not establish that a profile intended for a 4 mm thick covering will fit. Covering thickness, permissible height difference, width and the installed profile’s height are different measurements.
For its Type 202 transition profile, MEISTER lists the covering-height range separately from the height difference it can accommodate. Check the complete product data instead of one millimetre figure in its name. The installer also needs to confirm that it covers the joint appropriately and suits both coverings.
Give every transition its own worksheet entry
Replace the examples below with your actual junctions and add item numbers, photographs and a date. The examples raise different questions; they do not prescribe construction details. A and B must denote the same sides in the table and sketch. Record levels, differences and installation lengths in millimetres.
| Location / identifier | Coverings and installation A / B | Record finished dimensions | Resolve before selection |
|---|---|---|---|
| T1 – hall / living room | A: retained tiles; B: planned floating laminate | Level A___ / B___; difference___; length___ | Height adjustment, joint and door swing |
| T2 – room / room | A and B: same planned covering; state installation method | Level A___ / B___; difference___; length___ | Do the product instructions require separation? |
| T3 – home office / hall | A: glued vinyl; B: a different existing covering | Level A___ / B___; difference___; length___ | Suitable profile, substrate and fixing method |
| T4 – floor end at a fixed element | A: new flooring; B: identify the adjoining element | Level A___; junction geometry___; length___ | End detail, movement space and any sealing function |
| T5 – existing joint | Coverings on both sides and available documents | Position___; width___; levels A___ / B___ | Have the joint type and required detail professionally assessed |
Check the position, door movement and intended use together
Mark the intended dividing line on the floor plan. At a doorway, the desired appearance with the door closed can be one selection criterion; the flooring and door installers confirm the technically suitable position. Also have them check whether the leaf clears the finished profile throughout its swing and whether an existing bottom seal will meet an appropriate surface.
Mention walkers, wheelchairs, pushchairs or frequently used trolleys that need to cross the junction. Ask for the finished edge to be assessed against its intended use. A profile that looks flat is not, by itself, proof of accessibility. Balcony, external or specialist protective doors may have additional interface requirements to resolve before selection.
Do not decide on joints and movement space by appearance
Matching coverings and equal heights do not automatically allow continuous installation through two rooms. MEISTER’s laminate guidance identifies doorways and adjoining rooms as locations for movement joints. Check the appropriate installation instructions to establish what applies to your product.
Ask the installer which joint will sit beneath the profile and how the fixing will preserve the required movement space. Agree this detail before cutting the flooring. If a joint becomes visible in the substrate, first have its type and significance assessed; do not select a solution solely by its cover width.
A transition profile replaces neither a substrate assessment nor any necessary waterproofing detail. Describing one product as waterproof or flexible does not establish the suitability of the complete junction. Record special requirements in the scope of work.
Agree the fixing method and installation stage beforehand
Clarify whether the proposal uses a multi-part system with a base track or a directly attached profile. Have the contractor identify the layer it will be fixed to and the preparation included. A visually similar strip may use a different fixing principle. With underfloor heating or unknown service routes, assess the permitted method before any intervention.
Carl Prinz treats mechanical and self-adhesive versions separately in its simple transition-profile instructions. The planning implication is that appearance does not determine the fixing method. Have the product, surface and method confirmed together; self-adhesive does not mean suitable for every existing surface.
Agree when the necessary parts will arrive and be fitted. A base track may need to be installed at a different stage from the visible cover. Ask about the specified adhesive’s waiting periods and when the completed transition can be used. Include unfinished junctions in the plan for safe access during the work.
Record materials, individual lengths and quotation scope
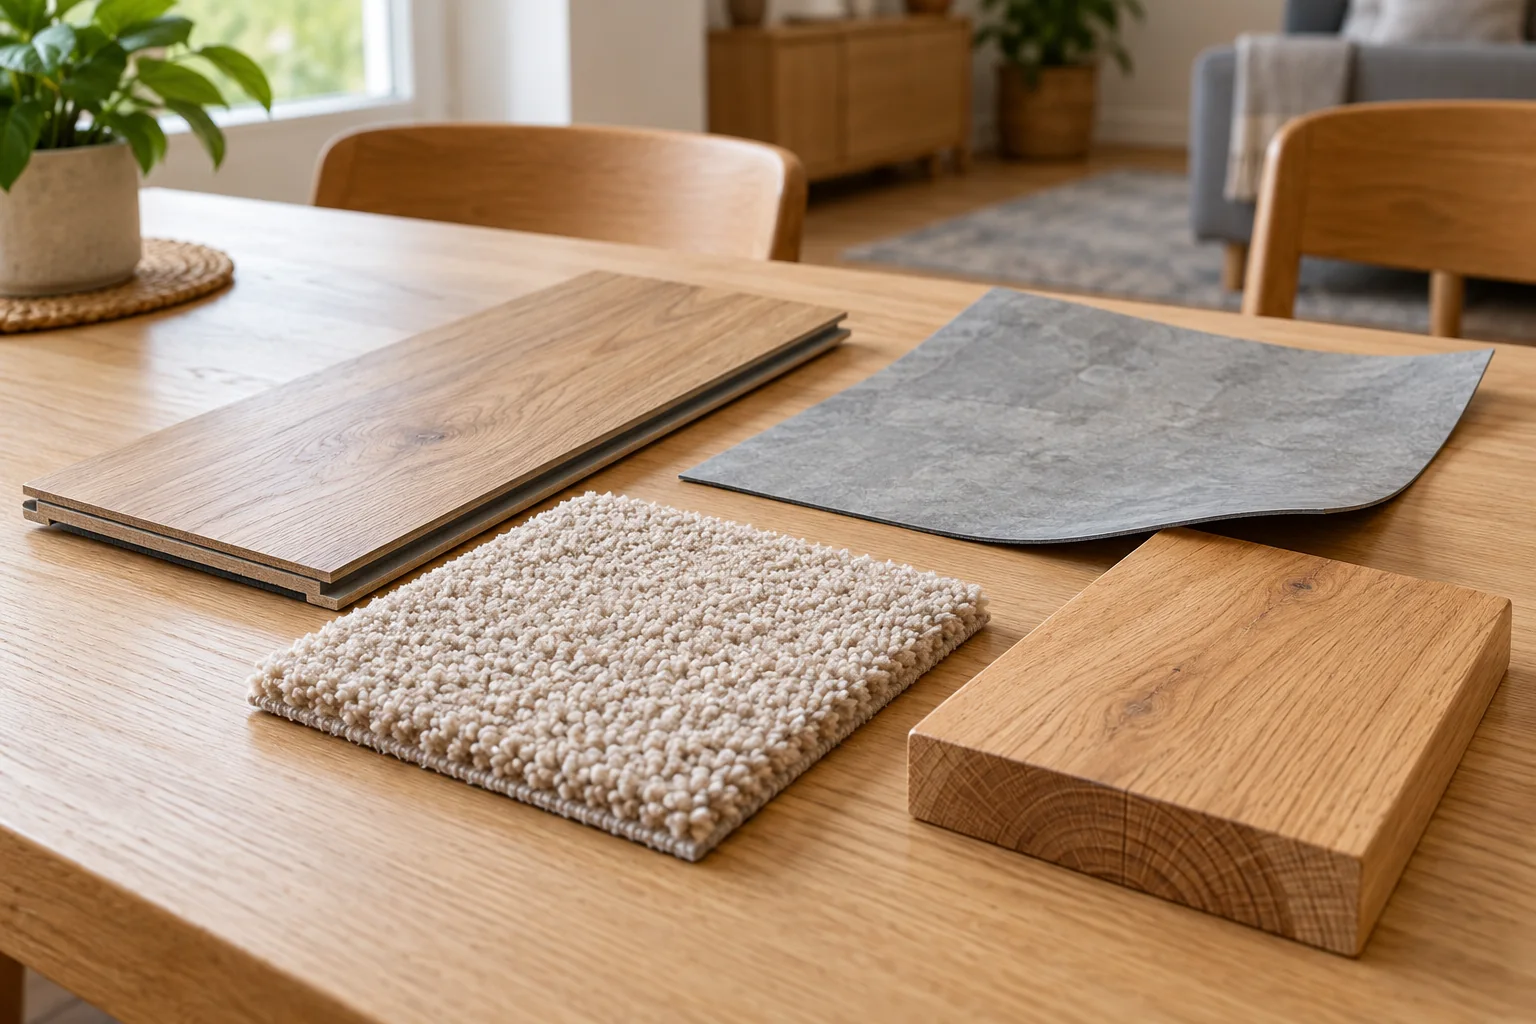
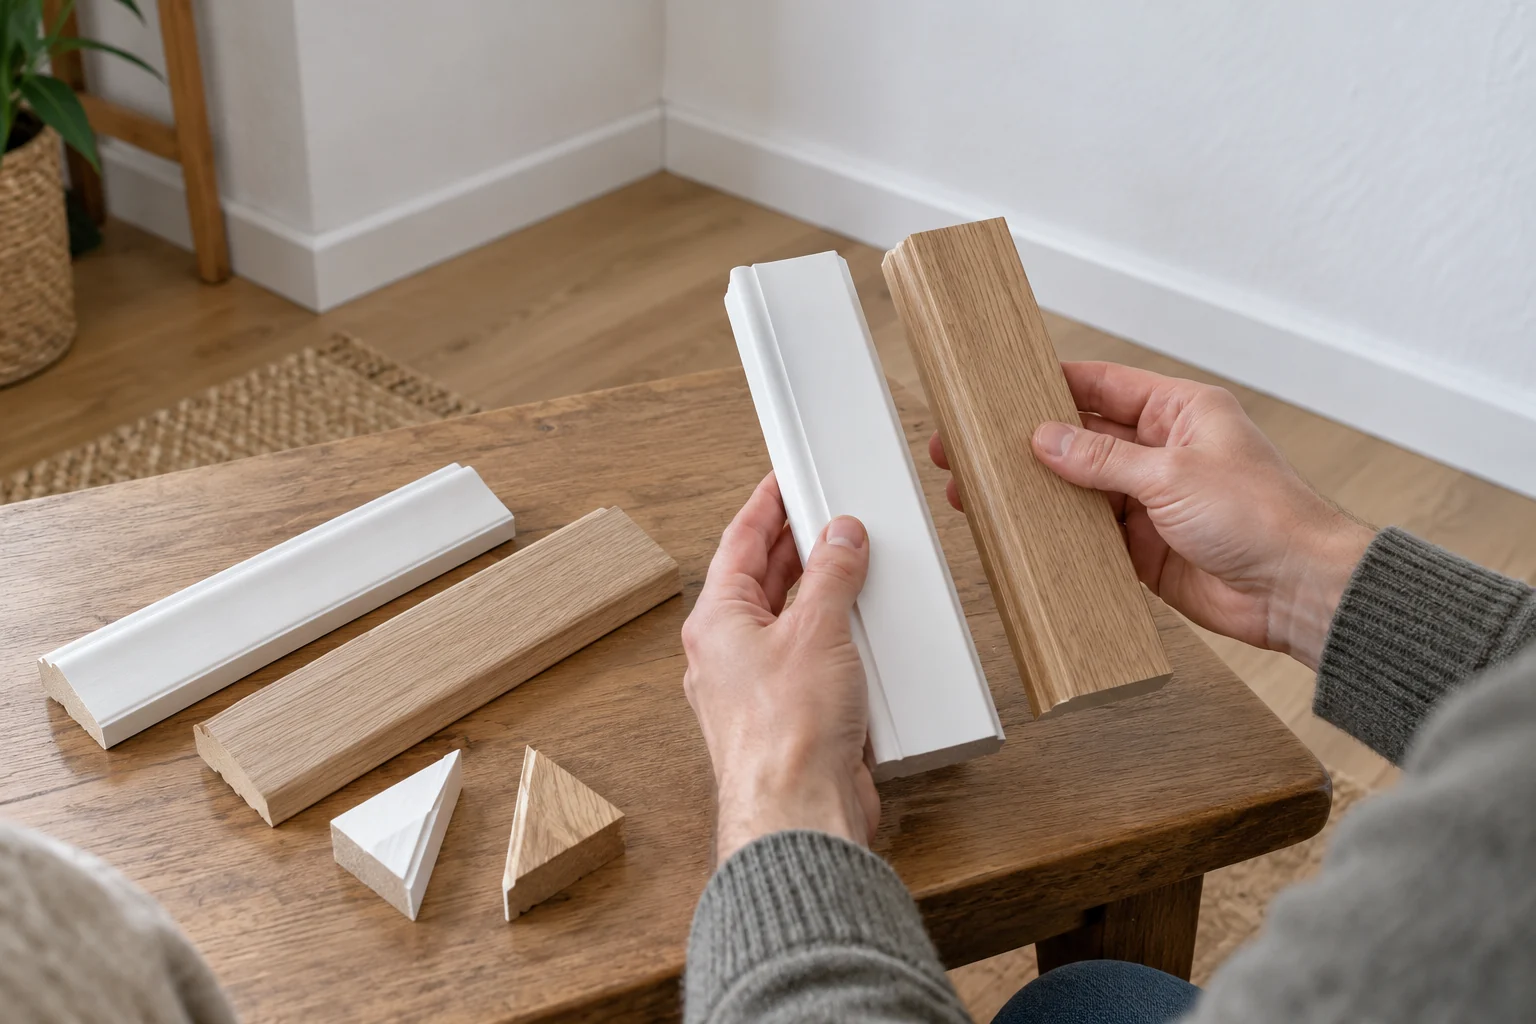
Compare a sample with the floor, door frame and skirting at the intended location. Record the material, finish, colour and item number. Ask whether the product suits the intended use, cleaning and possible moisture exposure. A metallic appearance alone does not identify the profile’s actual material.
List every individual length needed, rather than just the total. Available stock lengths, cutting losses and permitted joints determine the order. Ask which components make up the complete system and who will order them. Compare quotations against the same junction schedule and identify the following items clearly.
- Profile, base track, accessories and specified fixing materials.
- Level checks and preparation of the fixing surface.
- Removal of existing strips, cutting and finishing the ends.
- Coordination with doors and skirting, plus separately quoted extra work.
- Installation dates, permission to use the junction and records of outstanding issues.
Include the planned junctions in your enquiry
State the location, rooms, number of transitions, covering types and intended timeframe. Explain which coverings will remain, whether there is underfloor heating and whether profiles have already been bought. Keep the junction worksheet and photographs ready for discussion with the independent contractor; label uncertain measurements as provisional.
HandMen provides online marketing and enquiry referral. We do not select technical junction solutions or carry out flooring and installation work. Before transferring personal data, we identify the specific independent partner and obtain your separate consent. You agree the quotation, contract, assessment, work, invoice and payment directly with the respective contractor.