Use the same height reference on both sides
Give each affected doorway an identifier, such as T1 between the hall and living room. Record which way the door opens and whether the leaf and frame will remain or be replaced. Photograph both sides and label the images with that identifier. Include an unchanged hallway floor in the plan when the adjoining room will have a higher floor.
Distinguish the existing floor surface, the exposed substrate and the planned finished floor level, often marked OFF or OKFF in German documents. Have a common height reference established for both rooms. GARANT’s dimensional drawings distinguish opening, leaf and frame dimensions. Measuring the clear opening does not by itself establish the size to order.
Record the complete floor build-up
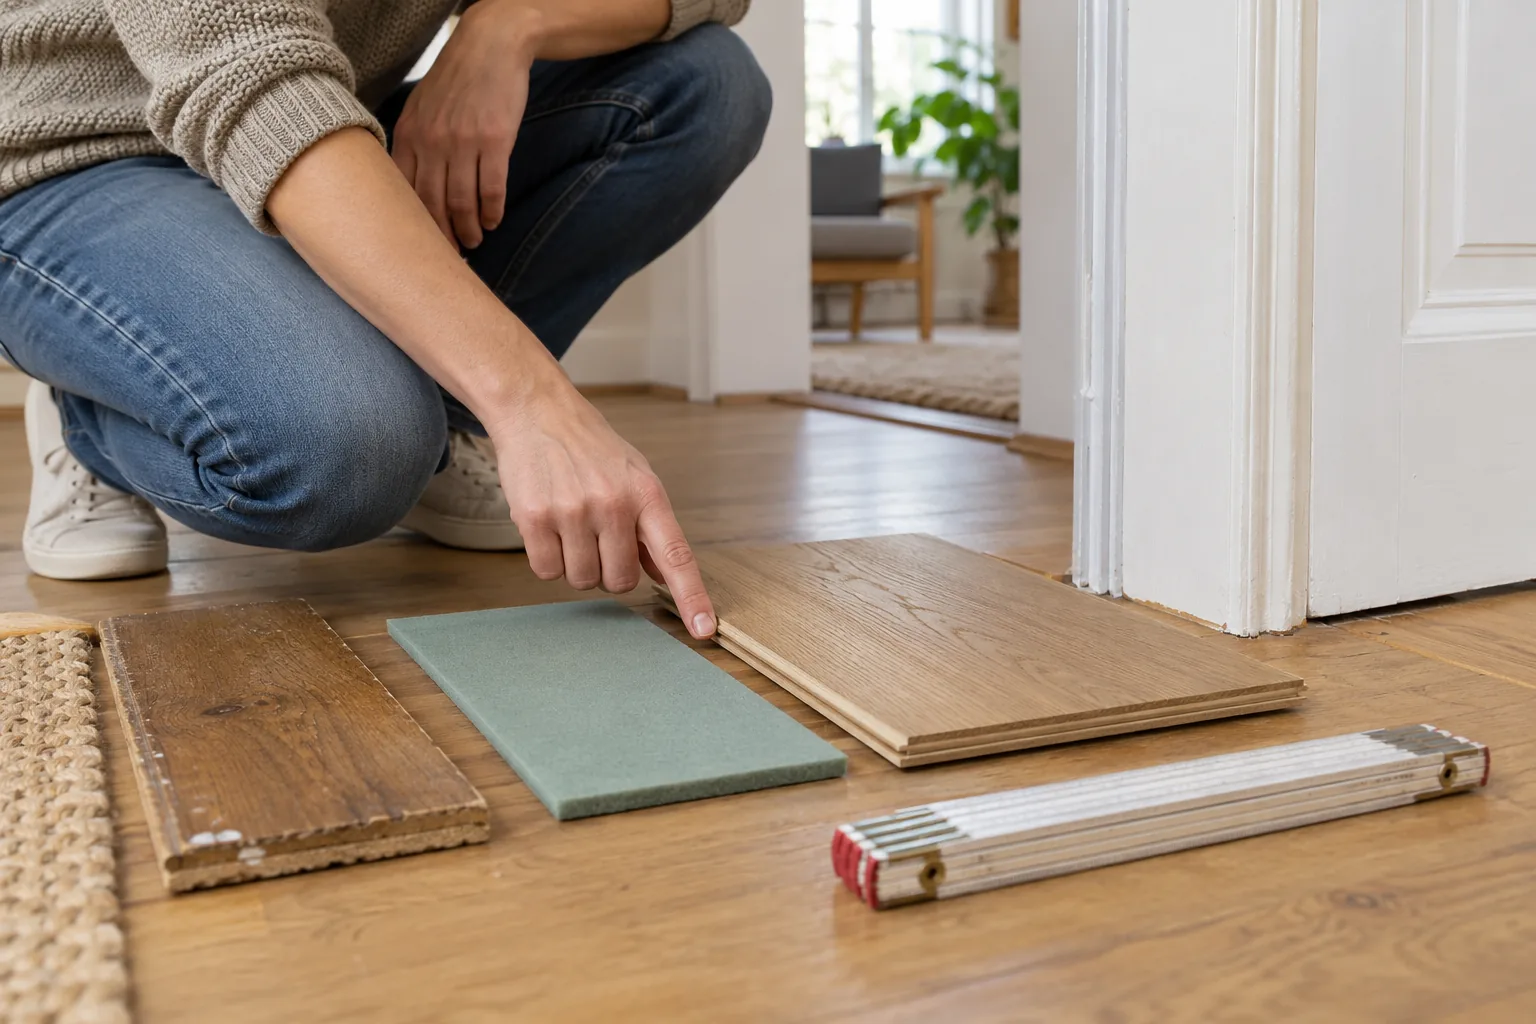
Have the contractor list the existing layers to be removed and those to remain. Add each planned new layer with its installed thickness: for example, levelling material, system-specific intermediate layers, adhesive or underlay, and the floor covering. Not every assembly includes all of these. What matters is the finished level at each measurement point, rather than the thickness printed on the flooring pack alone.
MEISTER describes laminate whose integrated acoustic layer replaces a separate underlay. Count integrated layers only once; have the installer confirm the complete build-up for your product.
If the condition beneath the old covering is unknown, mark the planned level as provisional. Additional levelling can change it. Agree which orders must wait for the substrate assessment and who will pass any revised levels to the door installer.
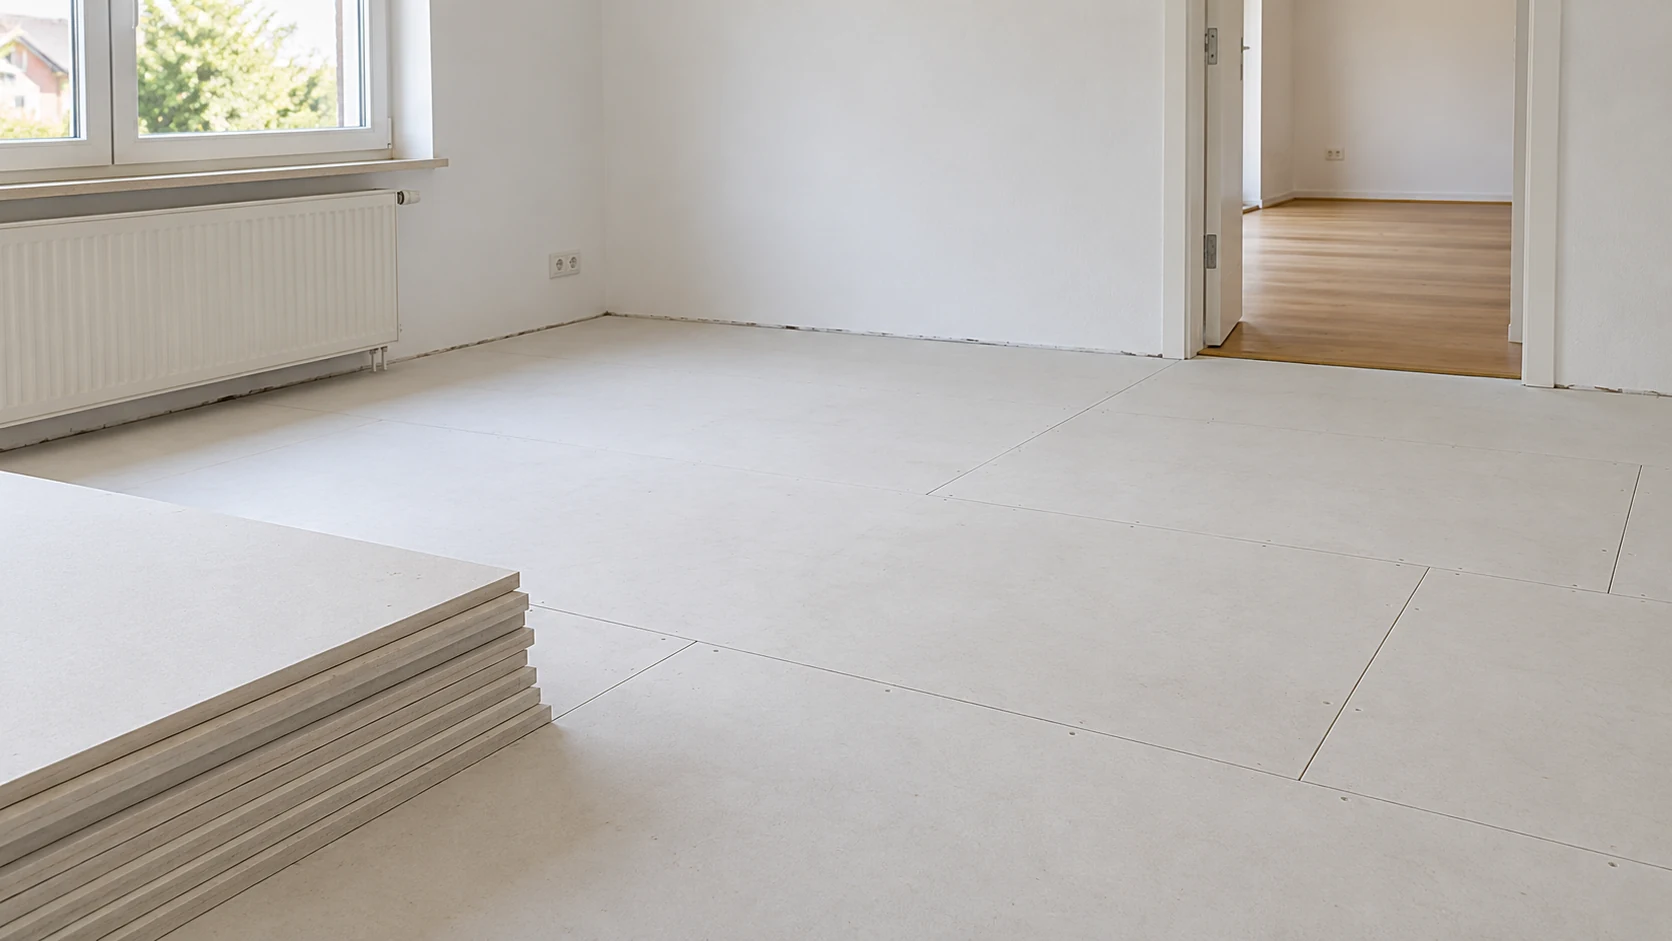
With prefabricated screed, record the height of the whole proposed floor system rather than the screed elements alone. Record levelling, system-dependent intermediate layers and finished covering against the same height reference. The dry-screed checklist adds questions about existing conditions, loads and contractor handovers.
Use six checkpoints on a shared measurement sheet
Sketch the doorway, rooms A and B, and the opening direction. Add a side view showing the existing and planned floor surfaces. Mark M1 to M6 on the sketch and record all dimensions in millimetres. Your initial measurements support the enquiry; the appointed contractor confirms dimensions used for ordering on site.
| Point / location | Record | Check together | Responsible contractor |
|---|---|---|---|
| M1 – reference point | Common height reference, clearly marked on the sketch | Do both surveys use the same reference and revision? | Flooring and door installers |
| M2 – room A | Existing and planned finished levels at the doorway | Which layers are removed, retained or added? | Flooring installer |
| M3 – room B | Existing and planned finished levels on the opposite side | Will a height difference remain between rooms? | Flooring installer |
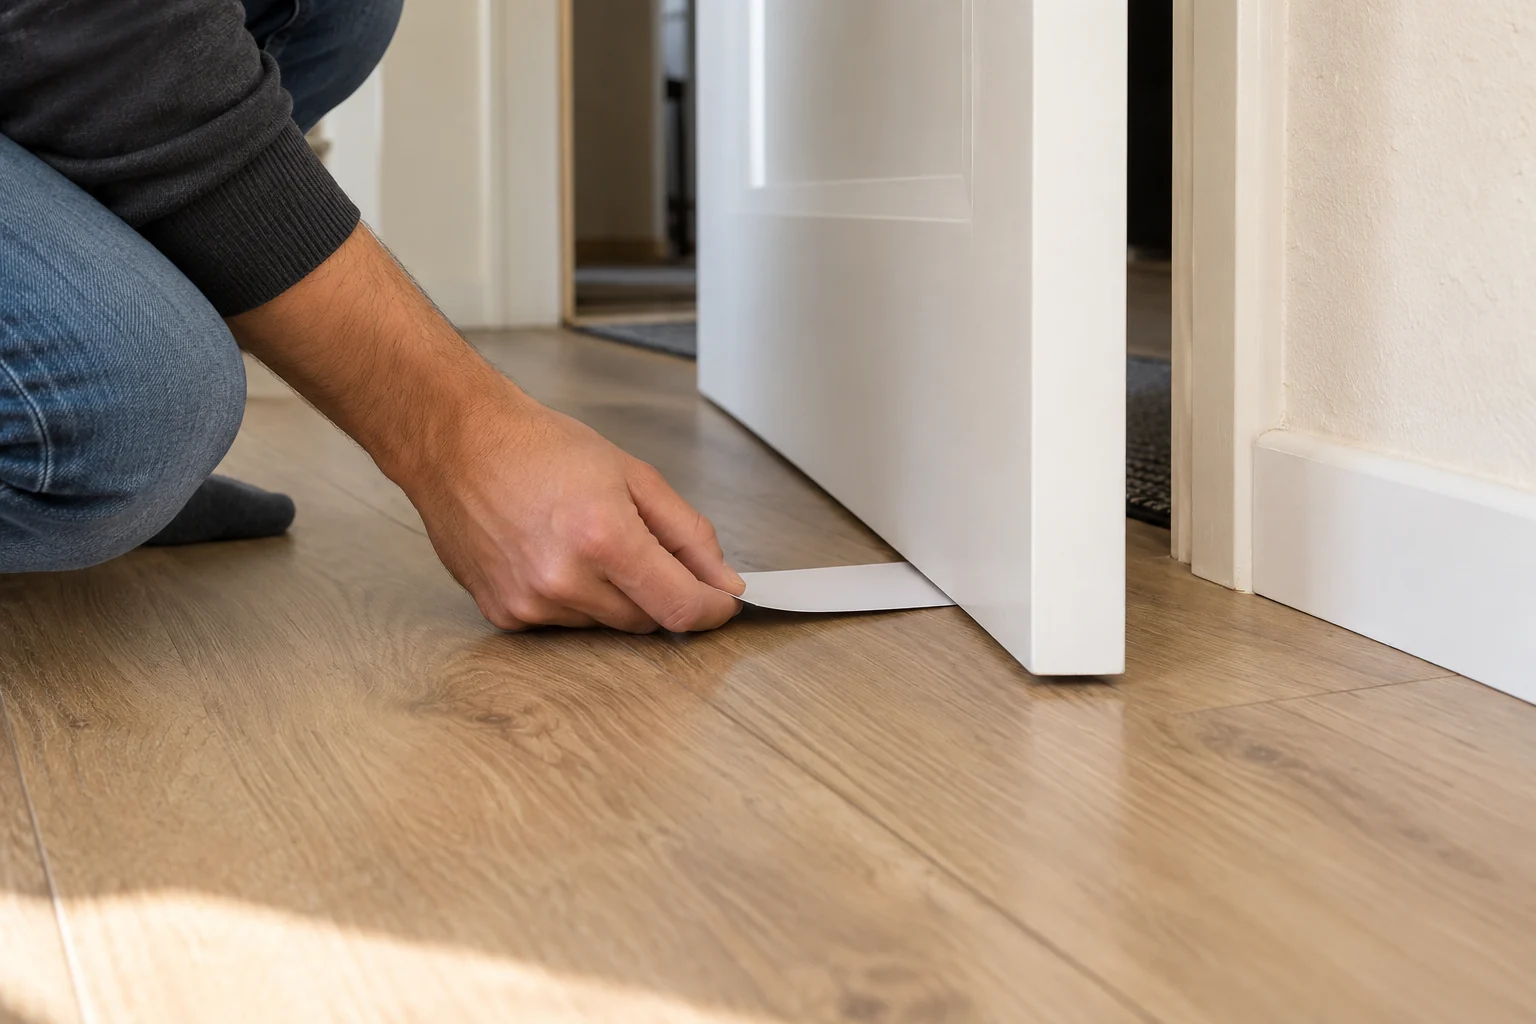
| M4 – door movement | Existing gap below the leaf; obstructions along its swing | Where will clearance be smallest after the work? | Door installer with flooring installer |
| M5 – opening and frame | Width, height, wall thickness and condition; label measuring points | Do ordering dimensions and fitting height match the finished floor? | Door installer |
| M6 – transition | Threshold, profile, bottom seal and any planned mat | Will their position, height and function suit the door? | Both installers; specialist designer if needed |
Calculate the level change, then have clearance assessed
A deliberately simplified example: an unchanged door leaf currently has a 14 mm gap at one point. If the new finished surface at that point is 8 mm above the old surface, the calculated gap is 6 mm. Here, 8 mm already means the net change after allowing for removed and new layers. If measuring from the exposed substrate instead, do not deduct this difference a second time.
The resulting 6 mm is not a recommended or universally permitted clearance. The calculation excludes higher spots along the swing, an added profile and any bottom seal. GARANT identifies floor unevenness and ventilation requirements as factors affecting the gap. Have the actual door’s required clearance and operation assessed; checking only the closed position is insufficient.
Do not assume the door can be trimmed
Record the door manufacturer, model and any identification labels. Tell the installer about known fire, smoke, acoustic or security requirements. Include any automatic drop-down seal in the information supplied. If the construction or previous modifications are unknown, leave the solution open until a competent specialist has checked it.
‘We will just trim the door’ is not a reliable basis for ordering. For example, Hörmann’s instructions rule out shortening the leaves of the OD steel doors covered by that document. An appropriate specialist must check the relevant documentation before deciding whether a different door can be altered. Do not remove seals or modify the leaf, frame or hardware speculatively.
Agree a solution for the complete assembly: a different suitable floor build-up, a matching new door set or an expressly permitted alteration. Never transfer a trimming allowance from the instructions for another model.
Plan the transition and door function together
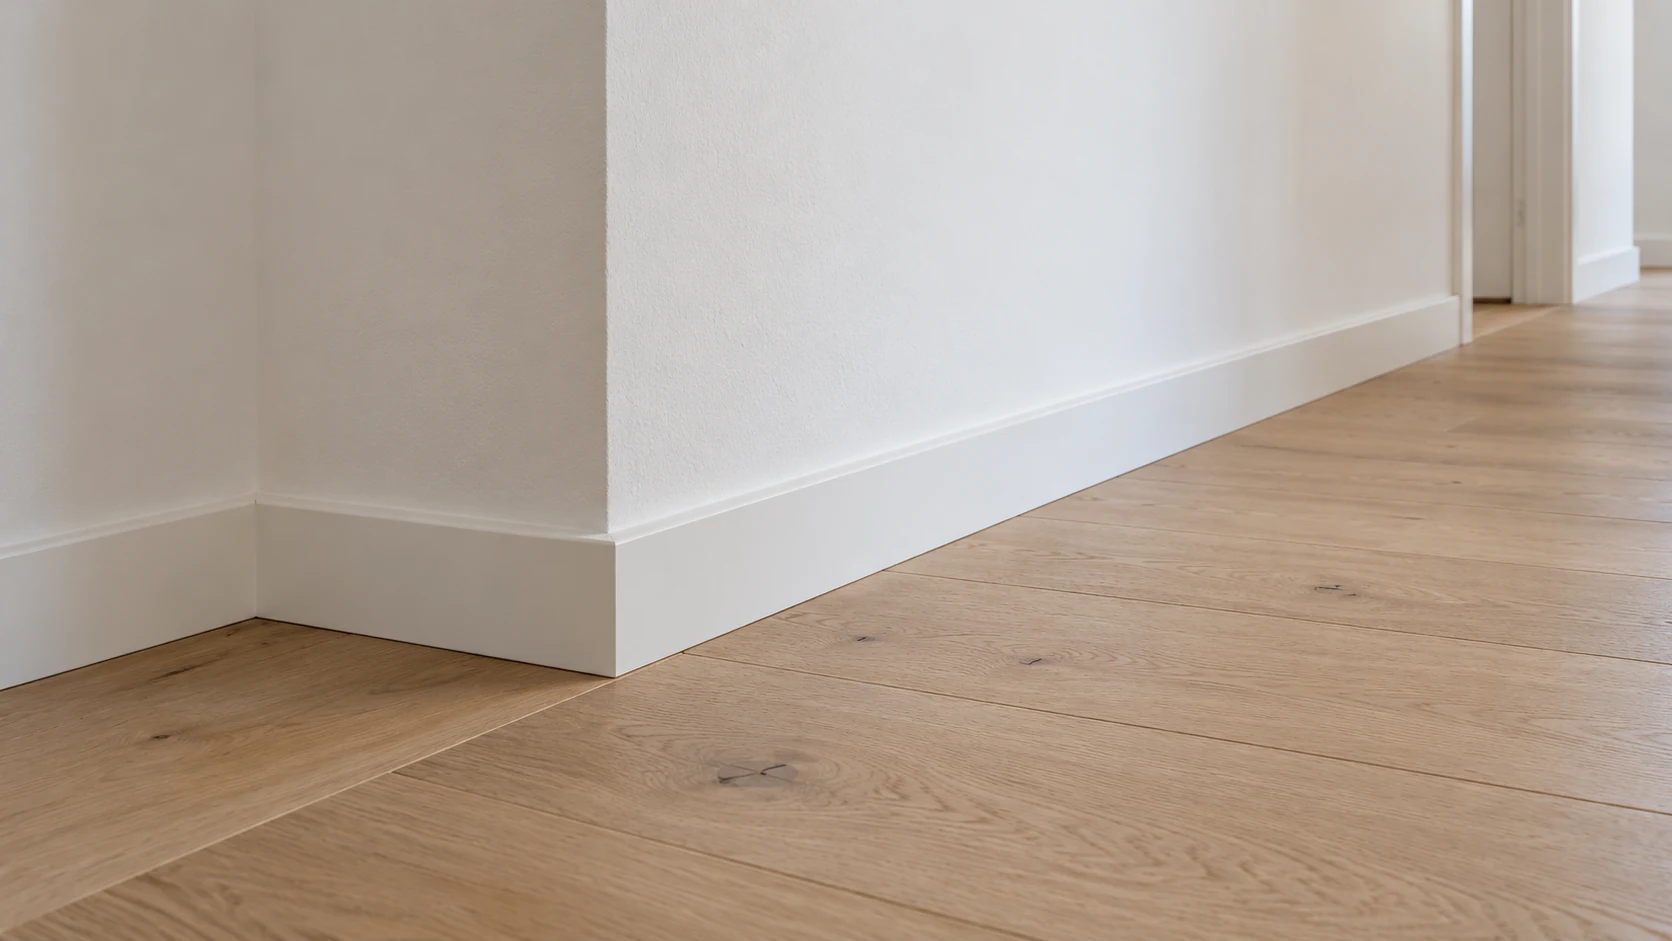
Establish where the coverings will meet and which profile or threshold is intended. Add its finished height to the sketch. Ask whether the door can move freely over it and whether an existing bottom seal will meet a suitable surface. Raise any particular accessibility or sealing requirements early in the discussion.
MEISTER’s laminate guidance identifies doorways as locations where movement joints must be considered. The detail depends on the system actually selected. Choose the transition with its connections and movement allowance in mind, as well as colour and width. Include a future mat in the check if it will lie within the door’s swing.
Confirm responsibilities before ordering and installation
The flooring installer confirms the intended assembly and resulting levels. The door installer checks the door system, dimensions, opening movement and interfaces against them. Record who supplies the final ordering measurements, who places the order and who receives the agreed information. With separate contracts, explicitly assign responsibility for passing on changes.
Agree three coordination points: before ordering, after exposing or preparing the substrate, and before final door installation or adjustment. If the covering, underlay or levelling changes, reconfirm the affected heights and dates. ‘Floor first, doors afterwards’ is not a substitute for a sequence suited to the actual project.
At the joint handover, the responsible contractors document agreed functional checks, observations and outstanding tasks. Keep the latest approved sketch with the product documentation.
If the door already rubs or catches after flooring replacement, record the contact point, timeline and available documents separately. The observation checklist supports the conversation with the appointed contractor, who assesses the cause and permissible measure.
Prepare an enquiry covering both flooring and doors
State the location, rooms, number of doorways, preferred flooring and intended timeframe. Explain which doors will remain, whether materials are already ordered and which levels still need confirmation. Have your sketch, photos and available product documents ready for discussion with the independent contractor.
HandMen provides online marketing and enquiry referral. We do not carry out flooring or door work or confirm measurements and technical solutions. Before transferring personal data, we identify the specific independent partner and obtain your separate consent. You agree the quotation, contract, assessment, work, invoice and payment directly with the respective contractor.