
Describe the lower wall area as a shared interface
For enquiries about skirting at plasterboard walls in Wiesbaden and the surrounding area, HandMen provides online marketing and refers enquiries to independent contractors. Describe the wall, finished floor and desired skirting together. The contractor can then assess the actual installation scope and outstanding preparation.
This guide concerns the junction between chosen skirting and a plasterboard wall or lining. State whether the skirting should simply provide the visible finish or also allow planned access. A closed appearance does not reveal how the lower wall junction is constructed.
Name a responsible contractor for the floor, wall construction and skirting installation. A decorative finish is not a commission to alter existing layers or joints arbitrarily. Resolve necessary changes with the professionals responsible for the affected components before installation.
Record wall construction and existing finishes before selecting fixings
Gather known information about the plasterboard wall: board type, boarding layers, supporting construction and earlier records. Identify unknowns explicitly. A painted surface reveals neither every layer nor the location of built-in components or suitable fixing areas.
For plasterboard fixings, fischer identifies load, boarding and cavity among the selection factors. Have the actual fixing area assessed. Examples for pictures or shelves are not converted here into a blanket plug recommendation for skirting.
Show loose coatings, damaged board facing and marks left by removing old skirting. Who assesses the findings, undertakes necessary repairs and confirms the subsequent surface? Wider skirting does not confirm that an unresolved defect beneath it can be covered.
Reference the skirting and fixing to the finished floor
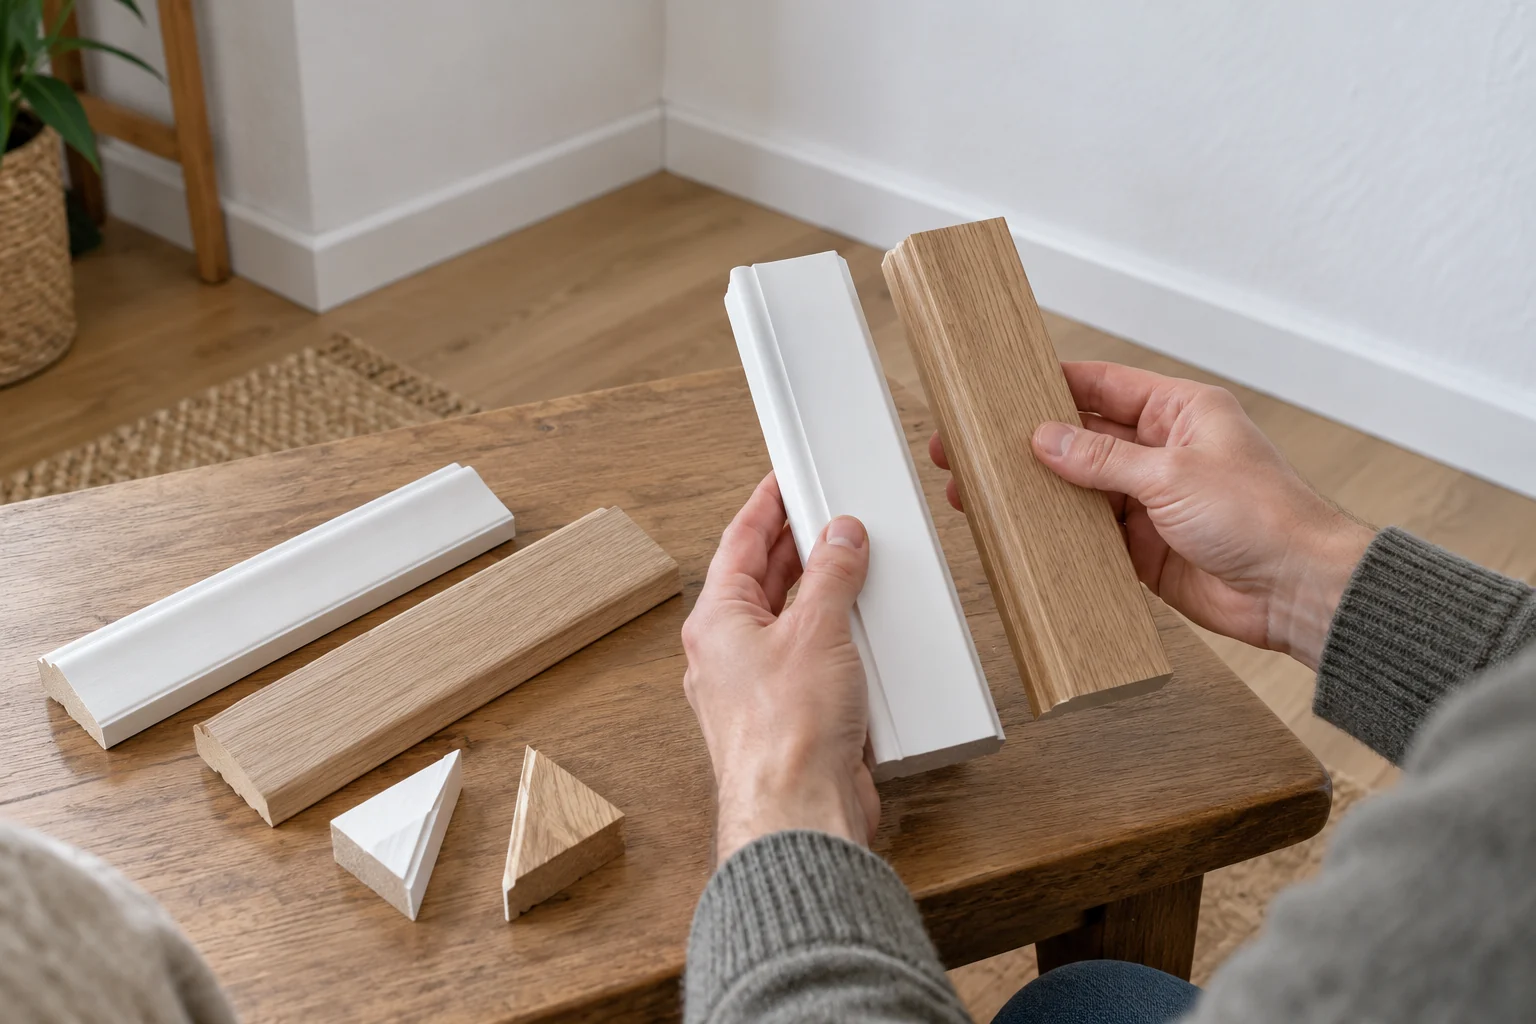
Assign an identifier such as S1 to the wall section. Place a product sample at the confirmed finished floor level and record height, projection and the chosen fixing system. Skirting height and coverage of the floor edge are different dimensions; check both against the actual junction.
MEISTER lists matching clips, corners, connectors and end caps for its skirting. Have accessories confirmed for the selected profile. A familiar clip shape or similar product name proves neither compatibility nor suitability for your existing plasterboard wall.
| Topic | Record for the enquiry | Have the responsible contractor confirm |
|---|---|---|
| Wall construction | Known board, boarding layers and available records | Assessed wall area and necessary further clarification |
| Existing finish | Describe paint, wallpaper, old adhesive and visible findings | Suitable installation substrate and necessary preparation |
| Finished floor | State covering, installation method and confirmed level reference | Junction detail and required movement space |
| Skirting profile | Product, sample, height, projection and accessories | Compatible combination and finished position at the floor |
| Fixing and services | Known installations and existing fixing information | Suitable fixing areas and interventions |
| Ends and access | Mark frames, built-ins, joints and intended later access | End details, removable areas and responsibilities |
Coordinate the edge finish with floor movement
Quick-Step’s Alpha Vinyl instructions require skirting fixed to the wall so the floor can move beneath it. This product example shows why skirting installation and floor instructions need to be considered together. The flooring contractor confirms clearances and details for the covering actually selected.
Establish whether the proposed fixing or adhesive method could unintentionally restrain the floor. Specify the edge-joint treatment explicitly too. The manufacturer treats wet-area finishing separately; this establishes neither a general requirement to fill every gap nor a universal ban on suitable sealing details.
Record any planned future floor replacement. Who will then assess the new level and edge finish? Previously suitable skirting may not suit the new construction height without reassessment. Junctions with door frames and transition profiles also remain part of coordination.
Assign the actual installation method and wall preparation
Quick-Step describes different installation options for different skirtings. Have the accessories or adhesive and the actual fixing substrate specified for your profile. The label ‘for plasterboard’ alone describes neither the existing paint nor the complete installation area.
For mechanical fixing, the executing contractor determines suitable areas and necessary interventions. For bonding, assessment of the existing finish belongs in the scope discussion. Agree products, preparation and a clarification point if actual conditions differ from the records.
Discuss the visible junction with paint or wallpaper with the responsible finishing contractor. Which edge remains visible, which tasks precede skirting installation and which follow it? Unplanned further work on paint, wallpaper or board facing needs a defined scope and responsible party in the quote.
Preserve services, removable areas and wall functions
Quick-Step lists rear cable recesses for certain parquet skirtings. That does not establish that every skirting is an installation duct or can later be removed without damage. Ask about the actual profile, intended cable use and necessary access; electrical tasks are assigned separately.
The BV Gips index treats joints and junctions as a separate planning subject. Have the lower wall details that must remain unchanged identified. Skirting is not a reason to cut, fill or cover unknown joints or layers without an appropriate assessment.
Rigips distinguishes a material’s reaction to fire from a construction’s fire resistance. A skirting specification therefore does not confirm a required function of the whole wall. State particular requirements and have the junction, fixing and future opening assessed within the actual assembly.
Record responsibilities before covering and at handover
Add the contractor, contact and agreed timing to each row. Establish which areas need recording or assessment before installation. Photographs support records but replace neither necessary technical assessment nor agreed acceptance.
Record product changes, new findings and altered floor levels in writing. Who assesses the consequences and updates the quote and sequence? At handover, outstanding items and future access information should be traceable alongside the finished appearance.
| Task | Agree responsibility directly | Record the outcome |
|---|---|---|
| Assess existing conditions | Who checks the wall area, layers and visible damage? | Assessed substrate and necessary preparation |
| Confirm the floor edge | Who confirms installation method, level and movement space? | Appropriate junction detail for the actual covering |
| Select skirting and accessories | Who confirms profile, accessories and installation method? | Exact products and agreed scope |
| Determine fixing areas | Who assesses mounting points and existing installations? | Suitable areas and necessary clarification |
| Resolve wall details and access | Who confirms protected layers, joints and removable areas? | Coordinated details and future access |
| Coordinate finishing sequence | Who handles repair, wallpaper or paint, and when? | Handover condition and confirmed following stages |
| Install and review the result | Who executes and checks the agreed junction? | Finished sections and traceable outstanding items |
| Hand over records | Who supplies product data and information for later changes? | Records, contacts and access information |
Define the actual trade scope and independent contractor
IHK Frankfurt treats system-based acoustic and dry construction separately from essential activities of Annex A crafts. This does not automatically exempt all additional work. Annex A lists Tischler, Maler und Lackierer and Elektrotechniker. Describe installation, adaptations, finishing and electrical tasks separately and clarify uncertain activities with the responsible chamber.
A short skirting run, a standard product or Kleinunternehmer tax status does not by itself confirm a contractor’s authorisation. Classification depends on the actual commission. This article confirms neither individual qualifications nor a general exemption from craft-law requirements.
For an enquiry in Wiesbaden and the surrounding area, provide the junction worksheet, desired product and available photographs. HandMen names the specific independent partner and obtains separate consent before transferring personal data. You agree the visit, survey, technical assessment, design, quote, contract, work, invoicing and payment directly with that contractor. HandMen handles marketing and enquiry referral, not execution, site supervision or technical approval.