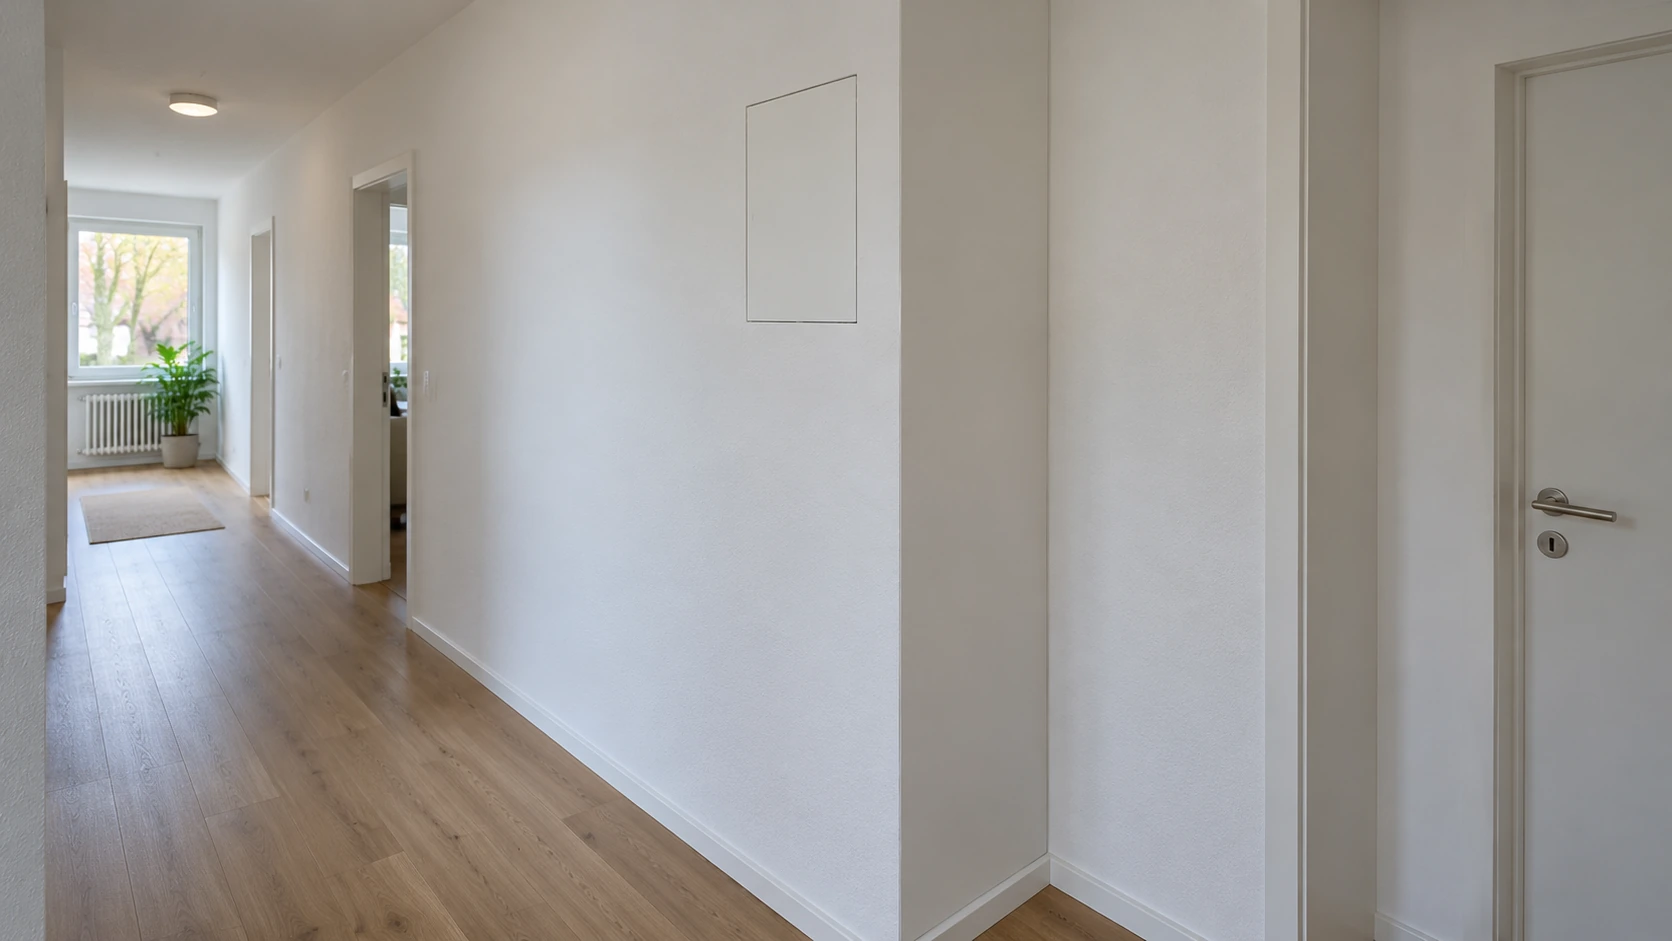
Start with what the lining will conceal
Draw the proposed pipe boxing, wall lining or enclosed service shaft on a simple room sketch. Mark known pipes, fittings and existing access openings. Add furniture, doors and appliances that will stand in front of the finished surface. Mark unknown service routes as unresolved and have them professionally assessed before work disturbs the area.
Ask the responsible installation contractor which components need access for operation, reading, inspection, cleaning or replacement. Not every pipe section automatically needs its own hatch. What matters is which tasks must remain possible at each position. A decorative enclosure and a shaft with specific protective requirements each need an appropriate design.
In a bathroom or kitchen, coordinate maintenance access, boxing and the moisture protection required for the particular zone together. Describe water exposure and later interventions before the box is closed. The wet-room checklist helps record responsibilities between contractors in writing.
Prepare an access schedule for the enquiry
Give proposed access points references such as R1 and R2, then mark them on the sketch and photos. The table lists possible maintenance points, not mandatory features for every enclosure. Ask the relevant contractor to confirm which entries apply to your project.
| Possible location | Task to clarify | Information for the enquiry | Ask the specialist to confirm |
|---|---|---|---|
| Isolation valve | Operation and possible replacement | Position, photo and obstructions in front | Reach, operating space and opening size |
| Meter | Reading, inspection and replacement | Meter type, position and existing documents | Visibility and space for later replacement |
| Filter or manifold | Servicing and removal of individual parts | Product details and proposed furniture | Working space and direction of removal |
| Drain cleaning access | Opening and cleaning | Known position and approach from the room | Suitable access for the intended maintenance |
| Electrical or ventilation component | Specialist inspection and servicing | Available plans and responsible contractor | Access, protective requirements and suitable enclosure |
| Hatch and finished surface | Opening, removing the cover and closing again | Paint, wallpaper or tiles; nearby furniture | Suitable product, installation detail and clear opening movement |
| Unidentified area | Investigating the existing installation | What is visible and which documents are missing | Who will resolve the situation before final design |
Specify usable access, not just the order size
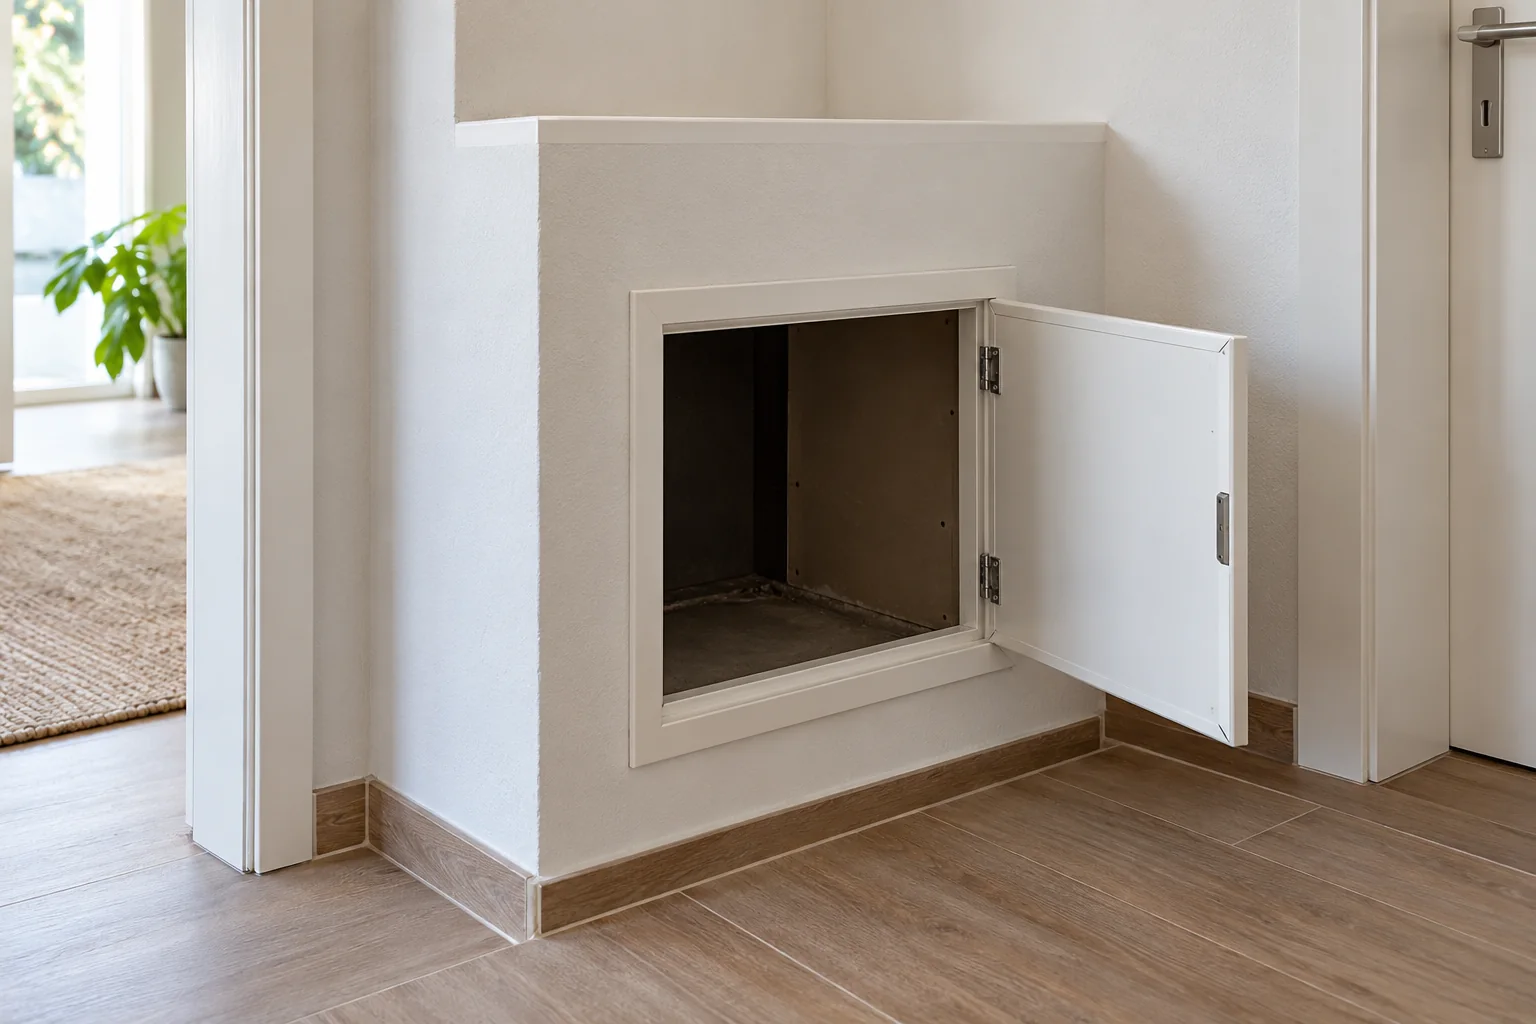
Request a sketch showing the position, clear opening, installation depth and space in front of the hatch. Ask what the quoted product dimensions actually describe. A frame, swinging cover or deep enclosure can affect whether a component is reachable. The installation contractor defines the working space; the drywall contractor coordinates it with the construction.
Check the proposed furniture layout: will the hatch still open fully or allow its cover to be removed once the basin unit, cupboard or washing machine is in place? Can the component only be read, or also replaced as agreed? Record which obstructions must remain excluded. There is no single minimum opening size that suits every situation.
Recessed-light drivers also need the agreed access for later servicing and replacement. The lighting guide helps establish whether access through the luminaire cutout is sufficient or whether a separate opening must be coordinated with the ceiling system.
For a sanitary prewall, assess access behind the flush plate for the cistern components it is intended to serve. It does not automatically provide access to other concealed parts. The sanitary-prewall guide connects these questions with the selected WC or washbasin element and the handover before boarding.
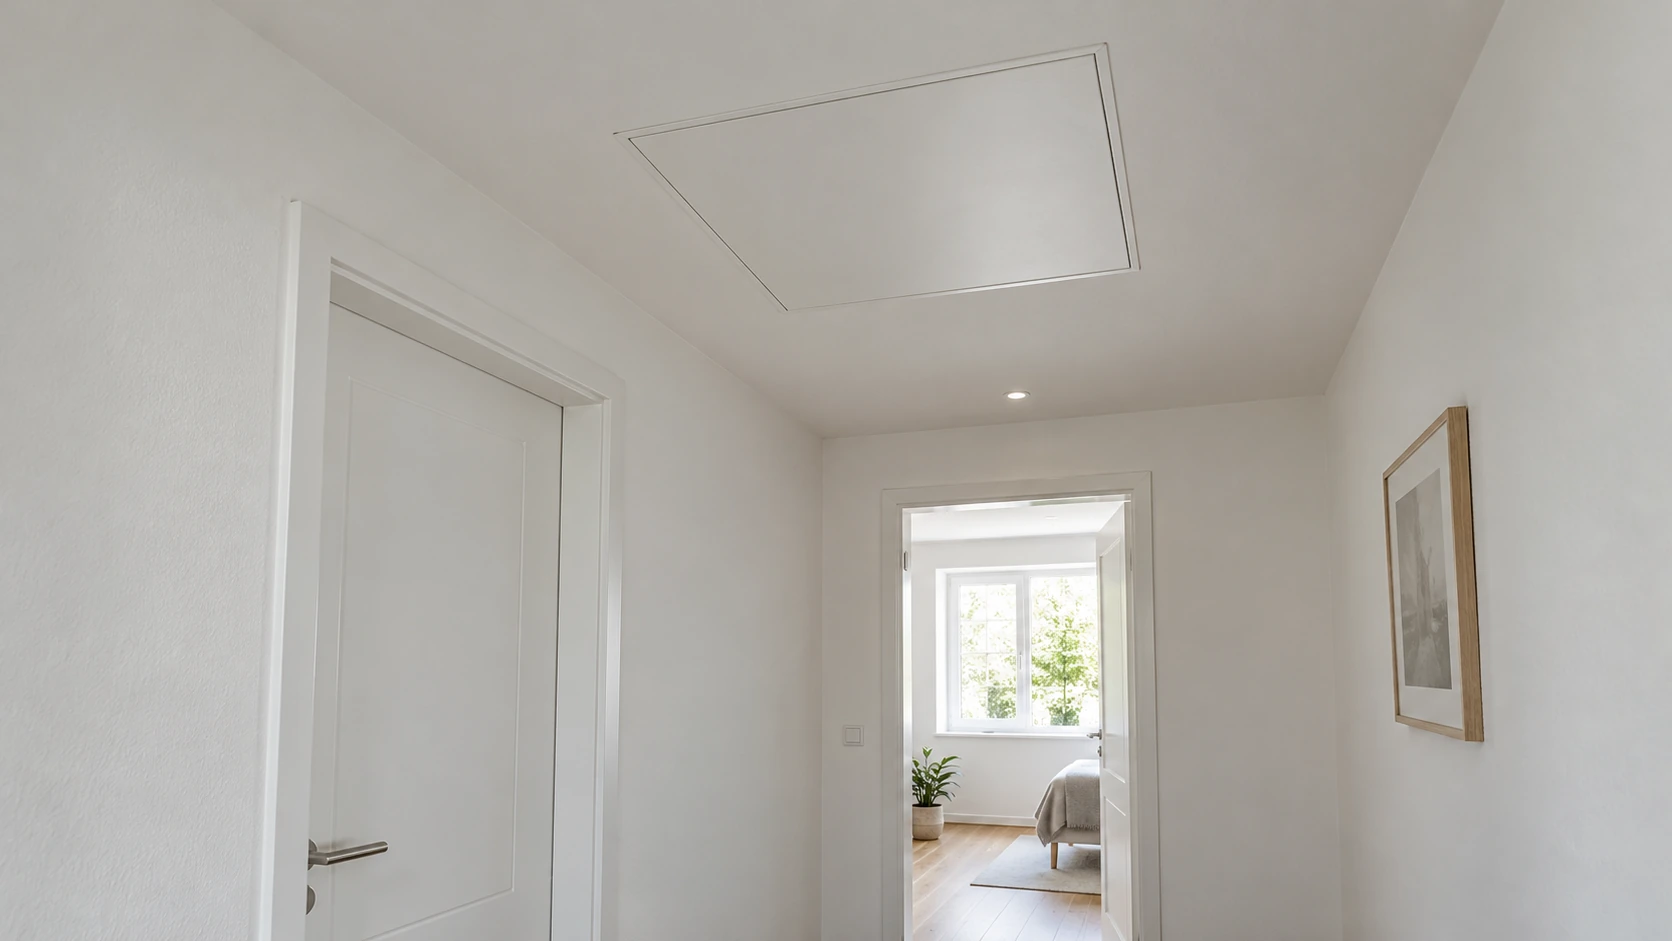
A ceiling access point also needs an agreed cover movement, retention arrangement and working area below the opening. The ceiling-hatch guide connects these questions with the specific element and complete ceiling system; a solution for wall boxing cannot simply be transferred overhead.
Select the hatch and protective construction together
Knauf distinguishes access panels by installation location, board thickness and fire resistance, among other features. Ask for the specific system and a compatible access solution, rather than an unspecified drywall hatch.
Knauf’s I90 shaft access closure has a defined application and construction approval. The planning implication is that fire requirements call for evidence covering the complete installation, not merely a rating printed on the hatch.
The splash-resistant AQUAPANEL F-TEC is also described for specified constructions. In a bathroom, have moisture exposure, waterproofing connections and the final covering considered together. A splash-resistance label does not establish suitability for every wall or location.
For a complete shaft wall reachable only from the room, selecting the hatch alone is insufficient. The shaft-wall guide connects installation access with the wall system, fixing substrates, service penetrations and required evidence.
- Which requirements apply to fire, sound, moisture or airtightness?
- Which contractor or specialist designer confirms the system and junction details?
- Which supporting documents and installation instructions belong to the agreed construction?
Arrange coordination before the lining is closed
Agree a clear handover point between service installation and drywall work. The relevant specialist confirms whether their pipes and components are ready for the next stage. Establish the necessary checks and records, and who documents the result. The sequence follows the actual construction and product instructions.
Review the access schedule at the installation location. Photos taken while the construction is open help identify positions later, but do not replace inspection. Changes to fittings, pipe routes or furniture may require access points to move. Agree those changes again with the contractors before closing the lining.
Give planned switches and sockets their own point schedule, separate from maintenance access openings. The guide to electrical points in partitions helps coordinate boxes, devices, wall construction and required checks with the electrical contractor.
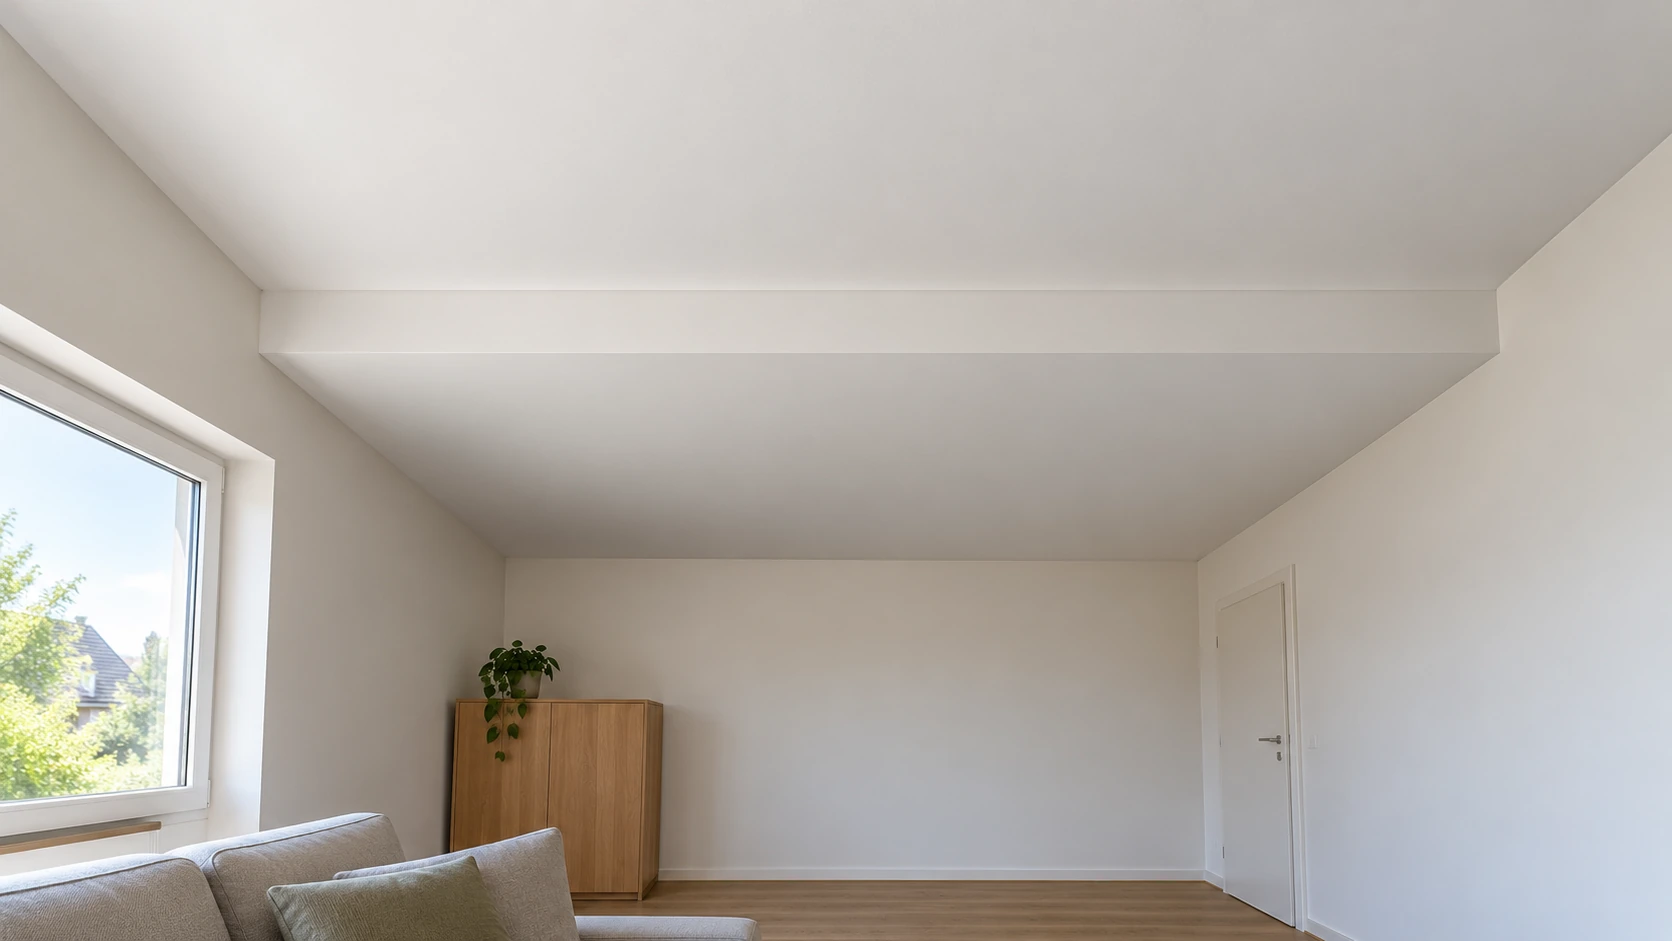
Where services run behind a ceiling step, coordinate their maintenance route with the transition line. The vertical face is not automatically removable. The dedicated guide helps record both ceiling levels, exact equipment and access points on one plan before closure.
Define the quote and responsibilities clearly
The quote should identify enclosure sections, the selected construction, the number and type of access points, the surface condition and responsibility for installation and checks. Assign filling, primer, paint or tiles separately. Clarify protection, material transport, waste removal and possible follow-up work so quotes cover the same scope.
IHK Frankfurt classifies acoustic and drywall construction itself outside the essential Annex A craft activities; a Meisterbrief is generally not required for that scope. This does not automatically authorise additional technical connections or painting. Each contractor must be suitable and hold any authorisation required for its actual work.
Review the access points when work is complete
Ask the appointed contractor to show which hatch serves each maintenance point and how it is intended to operate. Electrical covers and technical equipment remain the responsibility of the relevant specialist. A customer’s visual check does not confirm fire, acoustic or waterproofing performance.
- Match references on the sketch and access schedule to the installed hatches.
- Discuss opening movement and reach with the planned furniture in mind.
- Collect product details, operating instructions and agreed supporting documents.
- Keep service-route photos securely and assign unresolved points in writing.
- Distinguish this documentation checklist from a legal acceptance declaration.
Enquire about drywall boxing around Wiesbaden
Provide the location, room, approximate dimensions and purpose of the enclosure. Include known maintenance points, the desired finish and preferred timing. Have the sketch, access schedule and existing product documents ready for follow-up discussion. The independent contractor assesses feasibility, final measurements and costs.
HandMen provides online marketing and enquiry referral. Before sharing your data, we identify the specific independent partner and obtain your separate consent. You arrange the quote, contract, design, work, invoice and payment directly with that company. HandMen performs no construction work and gives no technical approval.