Identify where the wall ends and what stays open
For enquiries about non-load-bearing plasterboard partitions with a free end in Wiesbaden and nearby areas, HandMen provides online marketing and referral to independent contractors only. Mark the wall end on a plan and explain its purpose: separating a work area, directing a passage or screening part of the room from view.
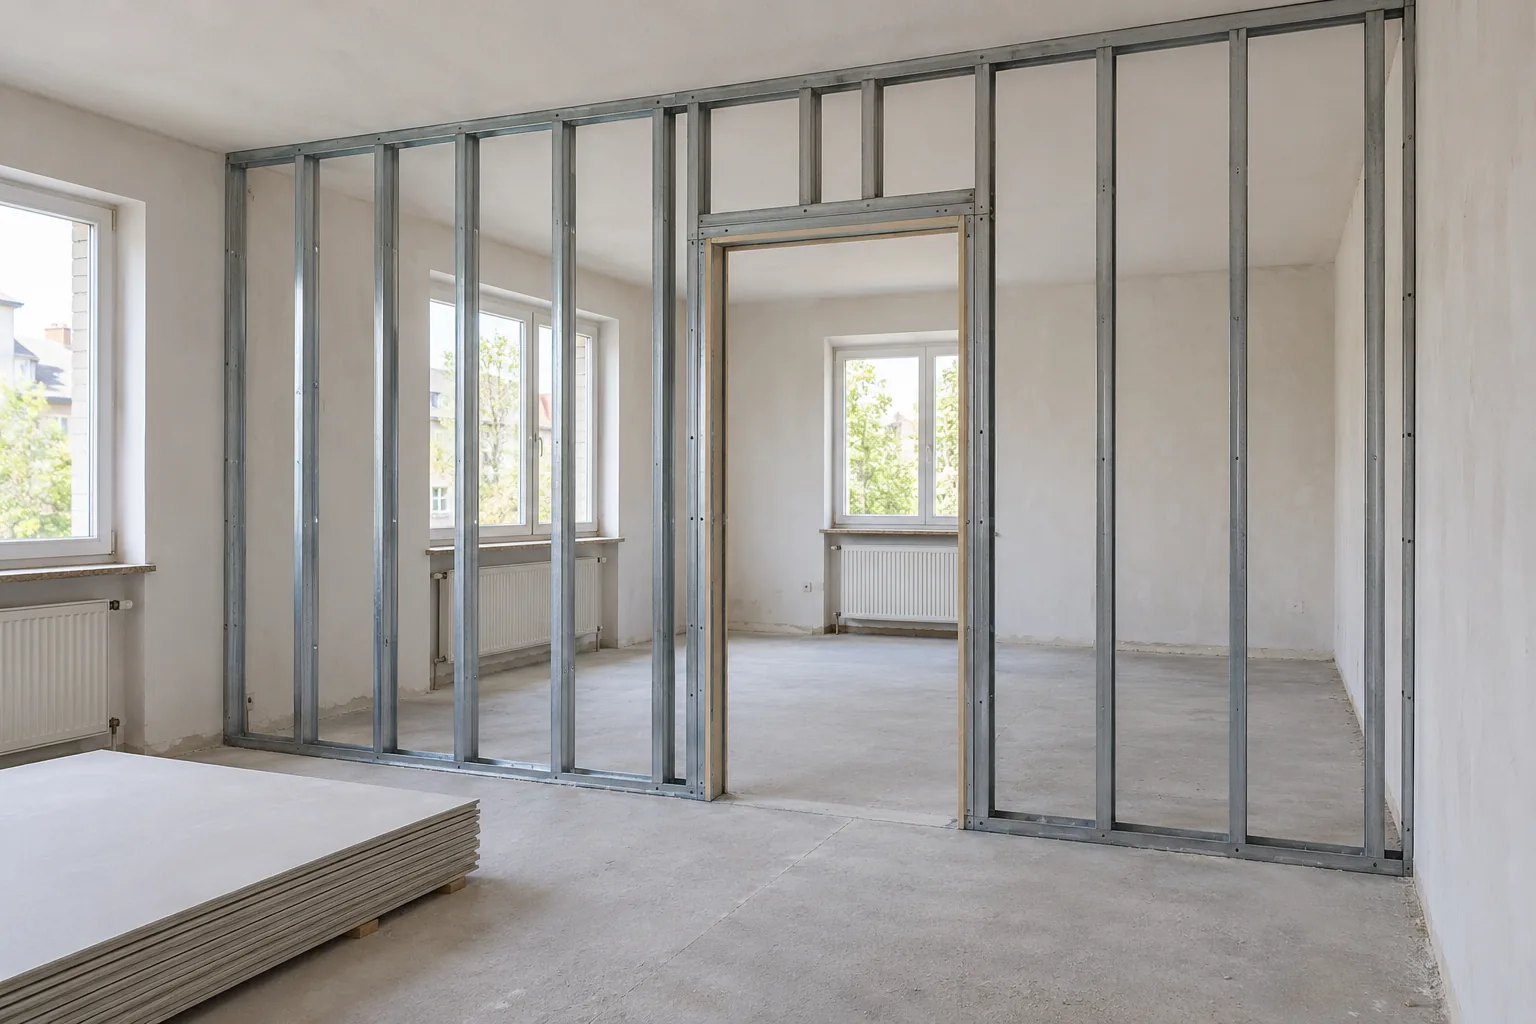
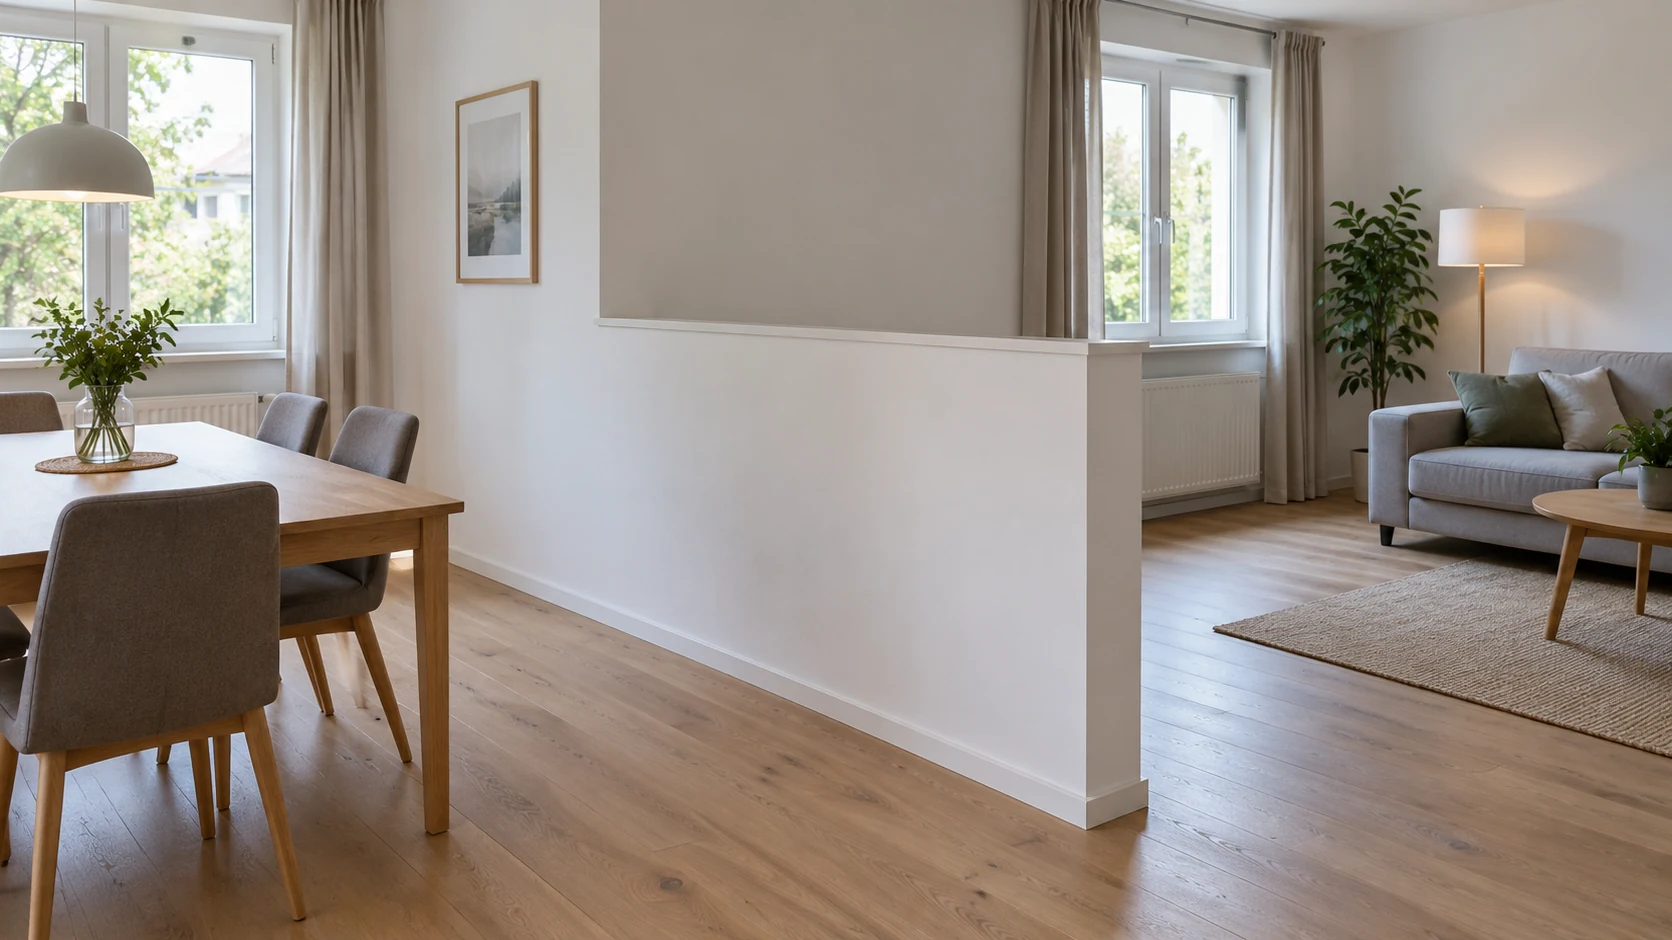
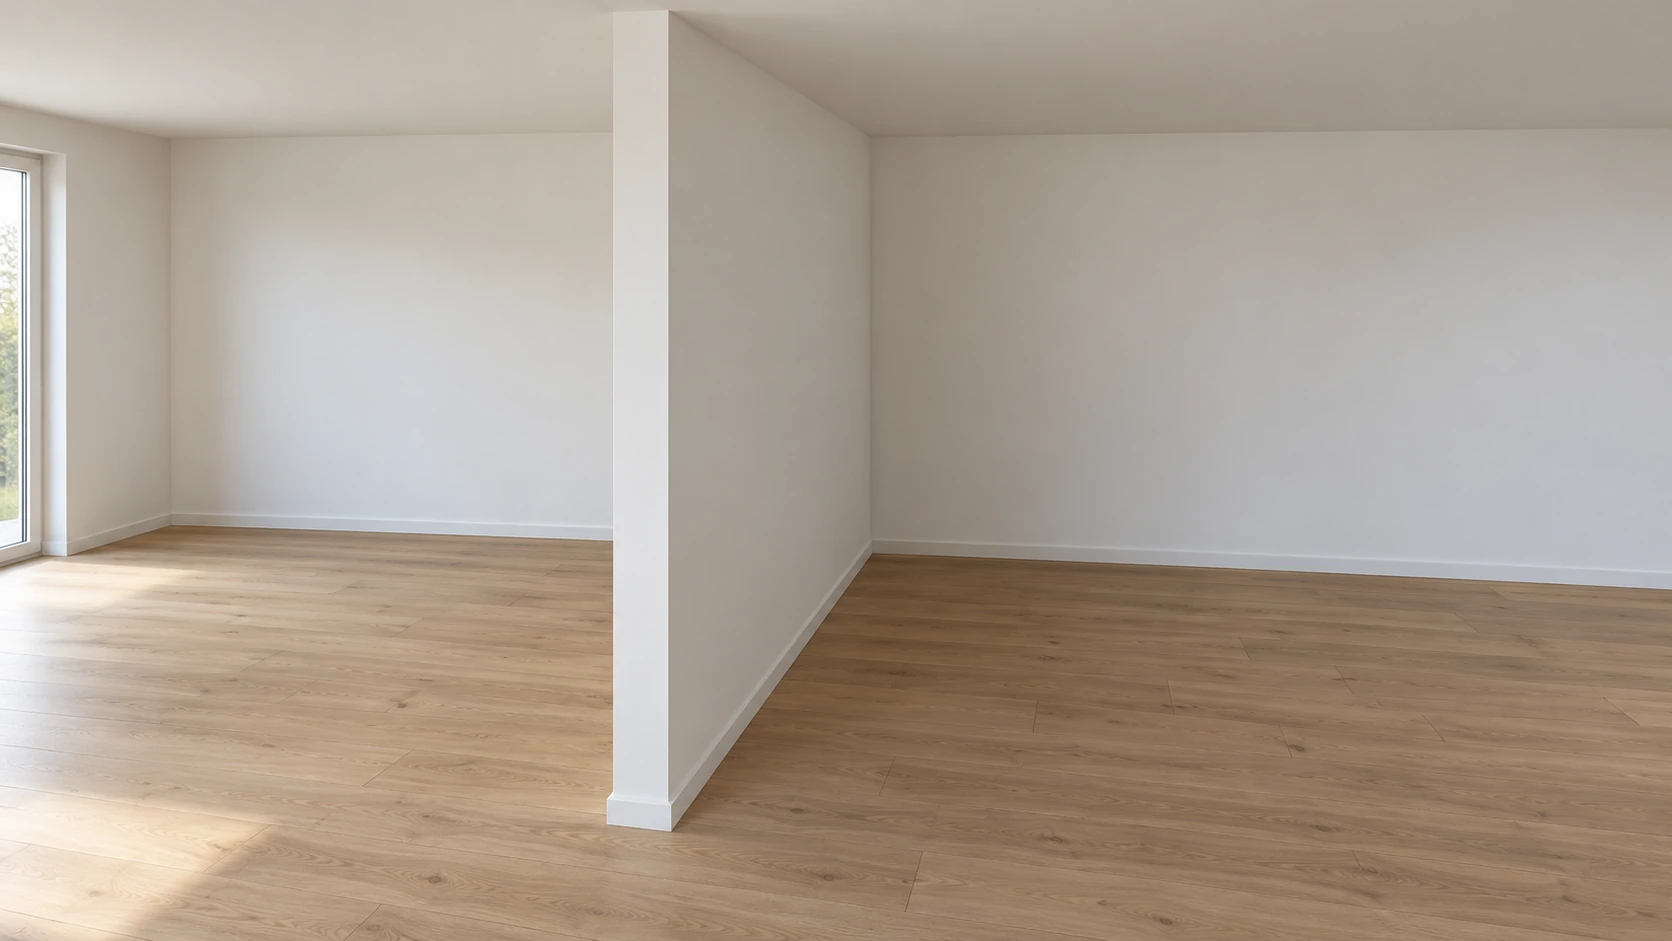
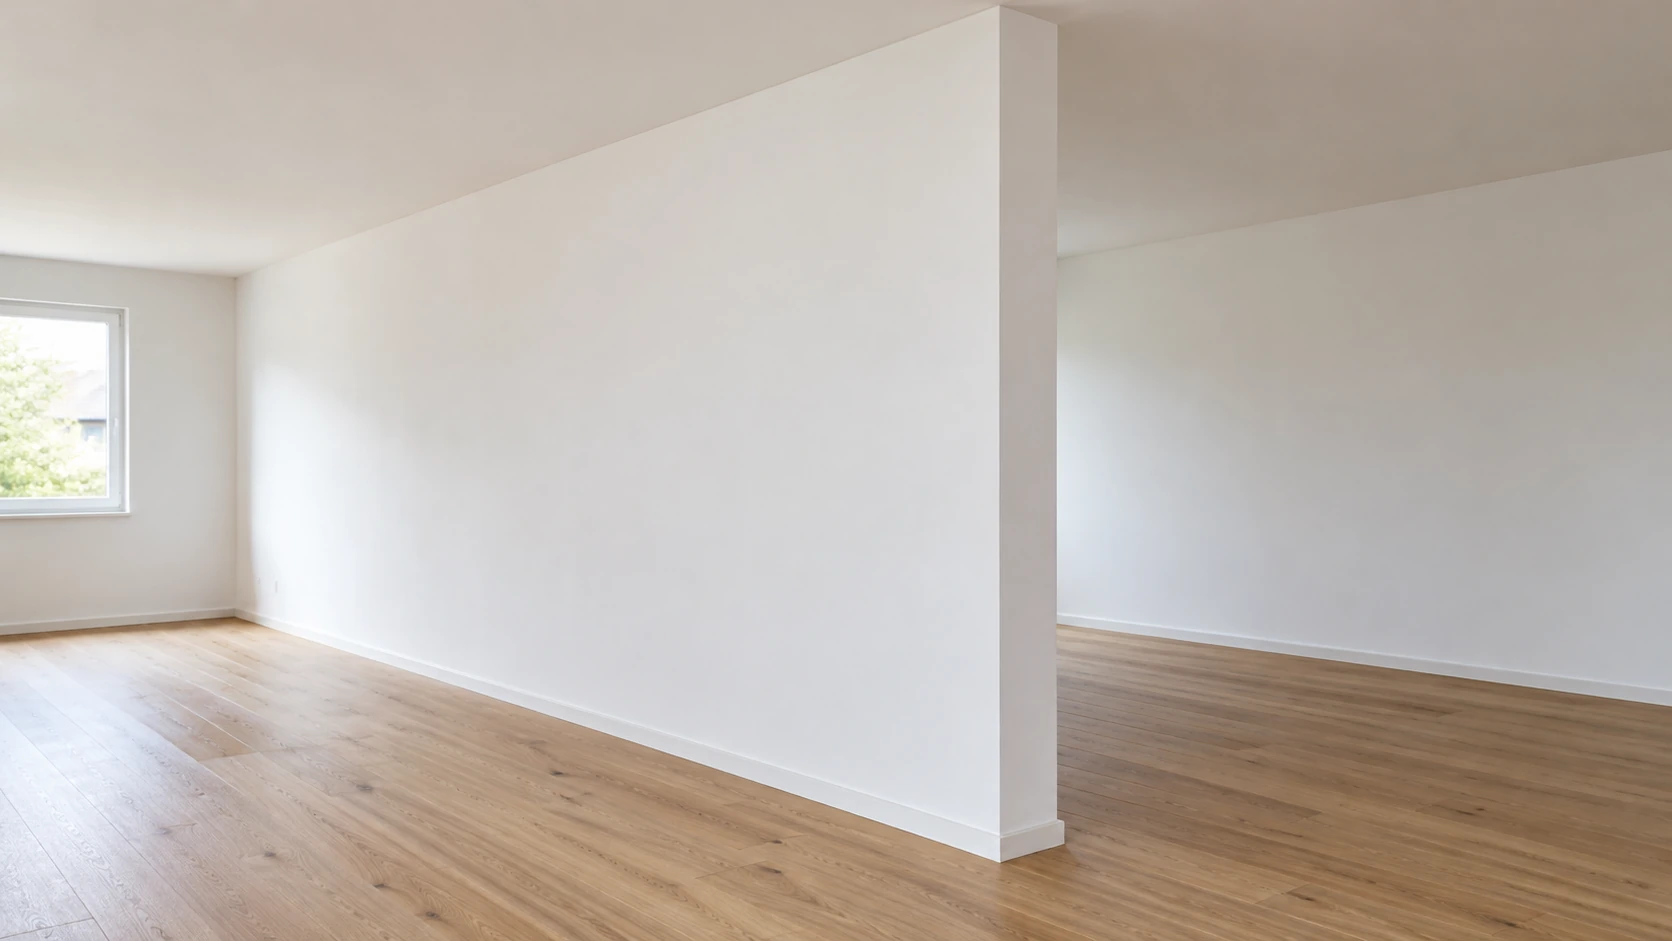
This guide concerns a new floor-to-ceiling partition whose vertical edge ends inside the room instead of meeting another wall. It differs from a low divider with a free top and from a T-junction between two walls. A corner-protection profile also does not describe the complete end detail.
Show where people will walk around the edge and which areas remain connected. Full height alone does not turn an open layout into enclosed rooms. If an existing partition is to be shortened, first commission a separate assessment; this guide gives no permission to cut it or alter load-bearing elements.
Agree finished wall lines and the route around the end
Distinguish the wall centreline, framing line and finished faces on the sketch. Identify the starting reference for the length to the end. Boarding and finishes affect the visible end position, so an approximate measurement must not silently become a construction dimension.
Show the finished floor level, height to the intended upper connection and complete finished wall thickness. Mark skirting, adjacent door leaves, pulled-out chairs and open furniture fronts. Check the desired passage use against the agreed layout; the person responsible for surveying confirms final dimensions.
Complete worksheet E1 for one labelled wall end. Give unknown conditions an owner and a date for clarification. If wall thickness, position or finish changes, check the remaining space again before ordering neighbouring furniture.
| Item | Information to provide | Confirmation needed |
|---|---|---|
| Purpose | Zone plan and passage direction | Separation and open connections between areas |
| End position | Sketch with length references | Finished termination line of the wall |
| Complete geometry | Height, thickness and desired surfaces | Final dimensions and upper connection |
| Substrates | Known floor, ceiling and side-connection layers | Suitable supports and fixing conditions |
| Nearby use | Doors, furniture, movement of people and objects | Passages and effects considered in the design |
| Additional functions | Loads, devices and known requirements | System solution and necessary documents |
Select a complete end detail for the actual system
Ask for the complete partition system and its free-end solution: document, edition, detail reference and scope of application. A narrow plasterboard strip, coating colour or external corner profile does not replace information about framing and connections.
Knauf W11 shows W112.de-END2 as a free wall end with a UA profile, expressly without fire protection. It is a conditional example, not a requirement to use UA for every partition.
The responsible professional checks suitability for the actual height, length, supports and use. If boards, profiles or accessories change, request updated compatibility confirmation. This guide specifies no profile sizes, boarding layers, fixing spacing or permissible loads.
Commission assessment of the whole wall’s supports and stability
Appoint the person assessing the complete force path from the free edge through the framing into suitable building components. Clarify the actual floor, ceiling and other side connections. A substantial-looking wall end is not thereby a column or support for adjacent elements.
The visible floor covering does not reveal the floor construction, and a suspended ceiling does not prove a suitable upper support. Pass on known information about screed, underfloor heating, concealed services and ceiling layers. Include unknown substrates in the technical assessment before fixings are selected.
Also agree necessary movement and the upper connection arrangement. If the end moves or a former side connection disappears, reassess the solution for the whole wall. A stronger corner profile does not replace this assessment or establish stability.
Describe loads, fittings and requirements for the open layout
Mark shelves, cabinets, a screen, switches or sockets near the end on both faces. For an attached object, provide the actual product, mass, position and use. Also describe ordinary effects in the passage, such as moving furniture; these are assessment inputs, not an assigned impact-resistance rating.
Agree services, concealed backing and maintenance access with the relevant specialists before closure. A narrow visible end face does not mean there is free space for drilling or installing a device. Refer later wishes for attached items for assessment before intervening in the finished wall.
Define acoustic and fire-protection requirements separately, taking account of the open route around the partition. A special board does not turn a wall that can be walked around into an enclosed room boundary. Where evidenced functions are required, the responsible designer assesses the whole layout and selected construction.
Specify the end’s appearance and finishing responsibilities
The free end is visible from several directions. Agree its finished width, straightness, treatment of both external corners and transitions to the wall faces. Show a desired finish sample and the intended lighting; discuss appearance alongside a technically suitable detail.
The contractor determines compatible edge-protection and surface-preparation materials. Filling quality does not define the framing, and a decorative cap alone establishes neither load capacity nor impact resistance. Additional linings require the finished dimensions to be checked again.
Clarify who finishes skirting around the edge, applies coatings and preserves specified joints. Record later care and whom to contact about damage or cracks. A local cosmetic correction should not conceal an unresolved cause of recurring changes.
Assign preclosure checks and handover of the result
Agree a checkpoint while end framing, connections and fittings remain accessible. The appointed inspector compares the work with the agreed plan within their commissioned scope. Label photographs with the wall reference and date, but do not treat them as independent proof of stability or protective performance.
After finishing, compare agreed dimensions, visible corners, passage, equipment positions and unfinished tasks. Technical documents and visual inspection serve different purposes. Report observations to your direct contractual partner with a plan reference, without assigning a defect’s cause from one photograph.
Each task in worksheet E2 needs a responsible person and an outcome. HandMen does not provide construction supervision or replace an appointed professional checking the construction or execution.
| Task | Who to appoint | Expected result |
|---|---|---|
| Confirm geometry | Survey lead and client | Plan of the finished end and passages |
| Select system and end detail | Designer and wall contractor | Actual detail and scope of application |
| Assess supports | Relevant professionals | Connection and force-transfer solutions |
| Coordinate loads and devices | Adjoining-trade and service contractors | Positions, access and load information |
| Assess required functions | Appointed specialist designers | Requirements and necessary project evidence |
| Inspect before closure | Separately appointed inspector | Records, changes and remaining work |
| Hand over for finishes | Wall and finishing contractors | Substrate, corners, joints and skirting |
| Hand over the result | Direct contractual partner | Documents, observations, remaining tasks and contacts |
Commission the actual scope directly from providers
Prepare the town, overall plan, photographs and worksheet E1 for the first enquiry. Ask for separate descriptions of surveying, technical assessment, design, partition and end detail, service work, finishes and documentation. Compare quotations using the same plan and list of unknown conditions.
HandMen names the specific independent partner and obtains separate consent before transferring personal data. You agree the site visit, measurements, technical assessment, design, quotation, contract, execution, result evidence, invoice and payment directly with the contractor. HandMen does not carry out construction work, issue technical approvals or confirm individual qualifications.
Required authorisations and registration depend on the actual activities, including additional service installations and painting. Kleinunternehmer is a tax status and does not waive craft requirements. Agree changes to construction, finishes or equipment with the responsible participants before the relevant stage continues.