Identify both walls and how the rooms will be used
For enquiries about T-junctions between non-load-bearing plasterboard partitions in Wiesbaden and nearby areas, HandMen provides online marketing and referral to independent contractors only. Show both walls on one plan and describe the rooms they will divide when preparing the first discussion.
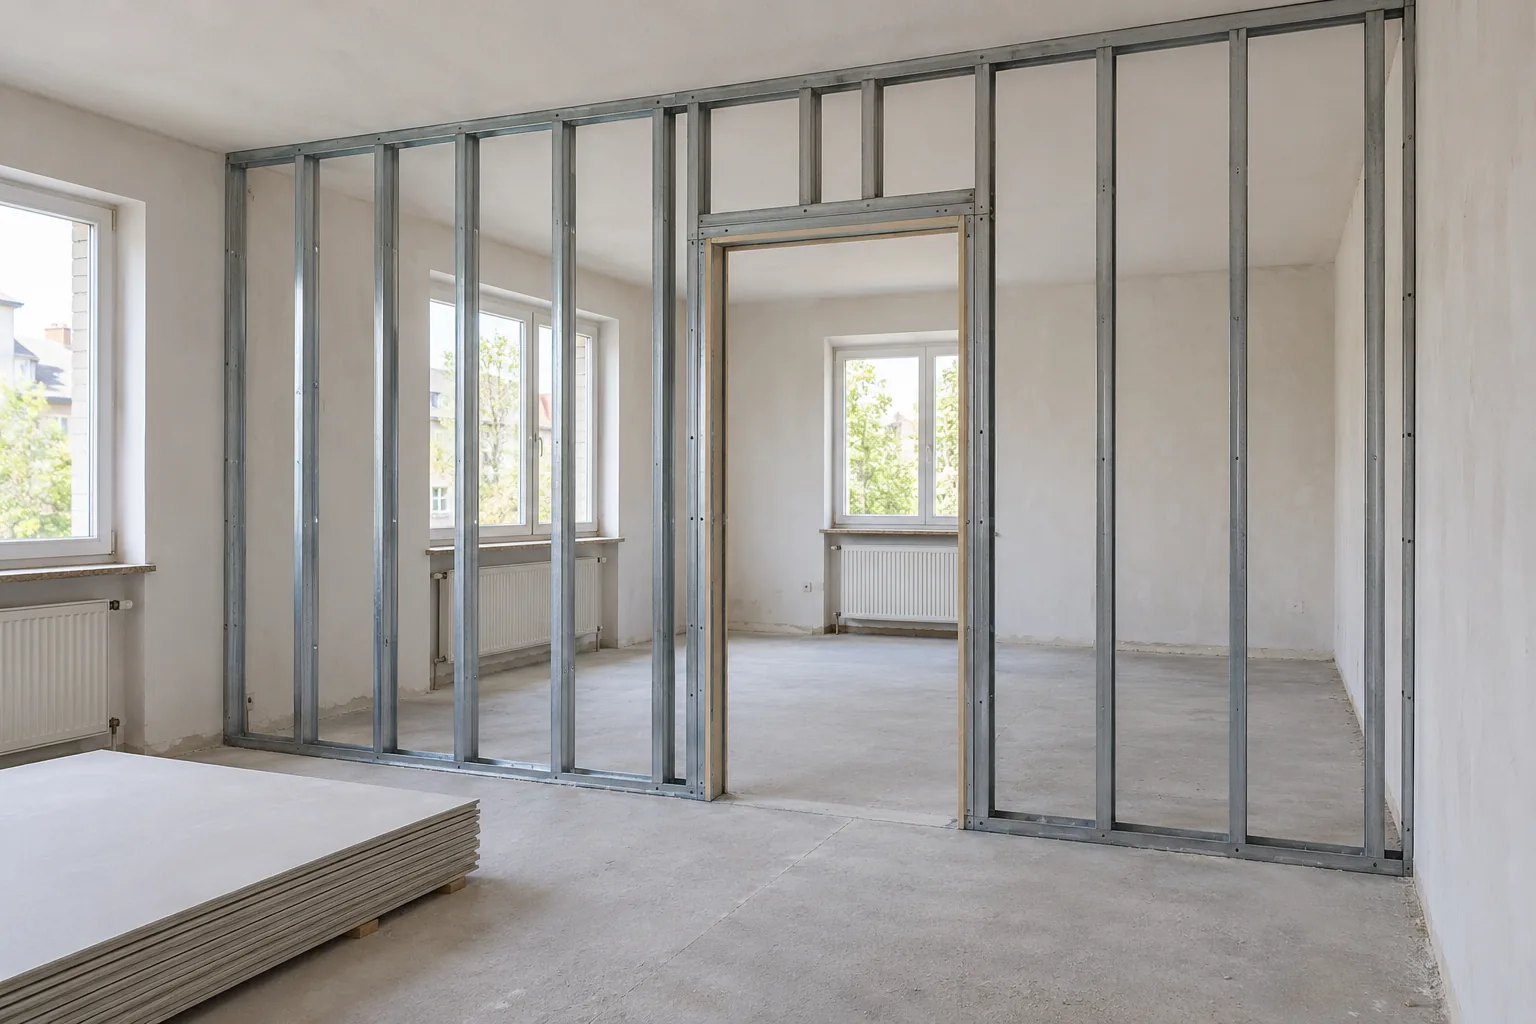
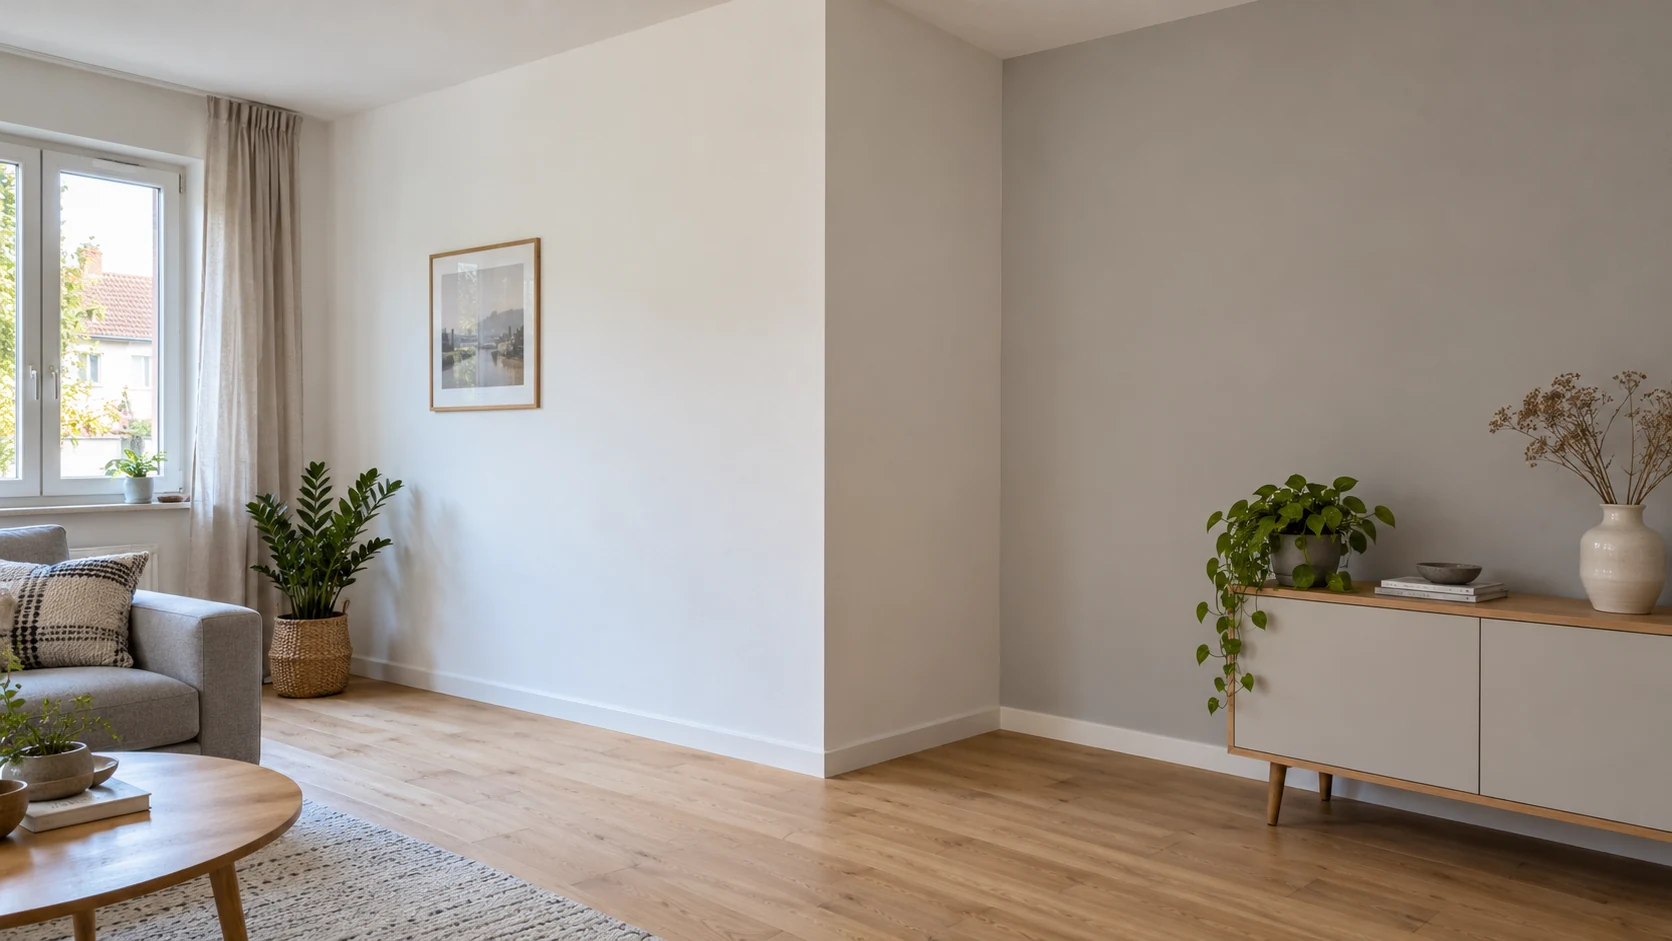
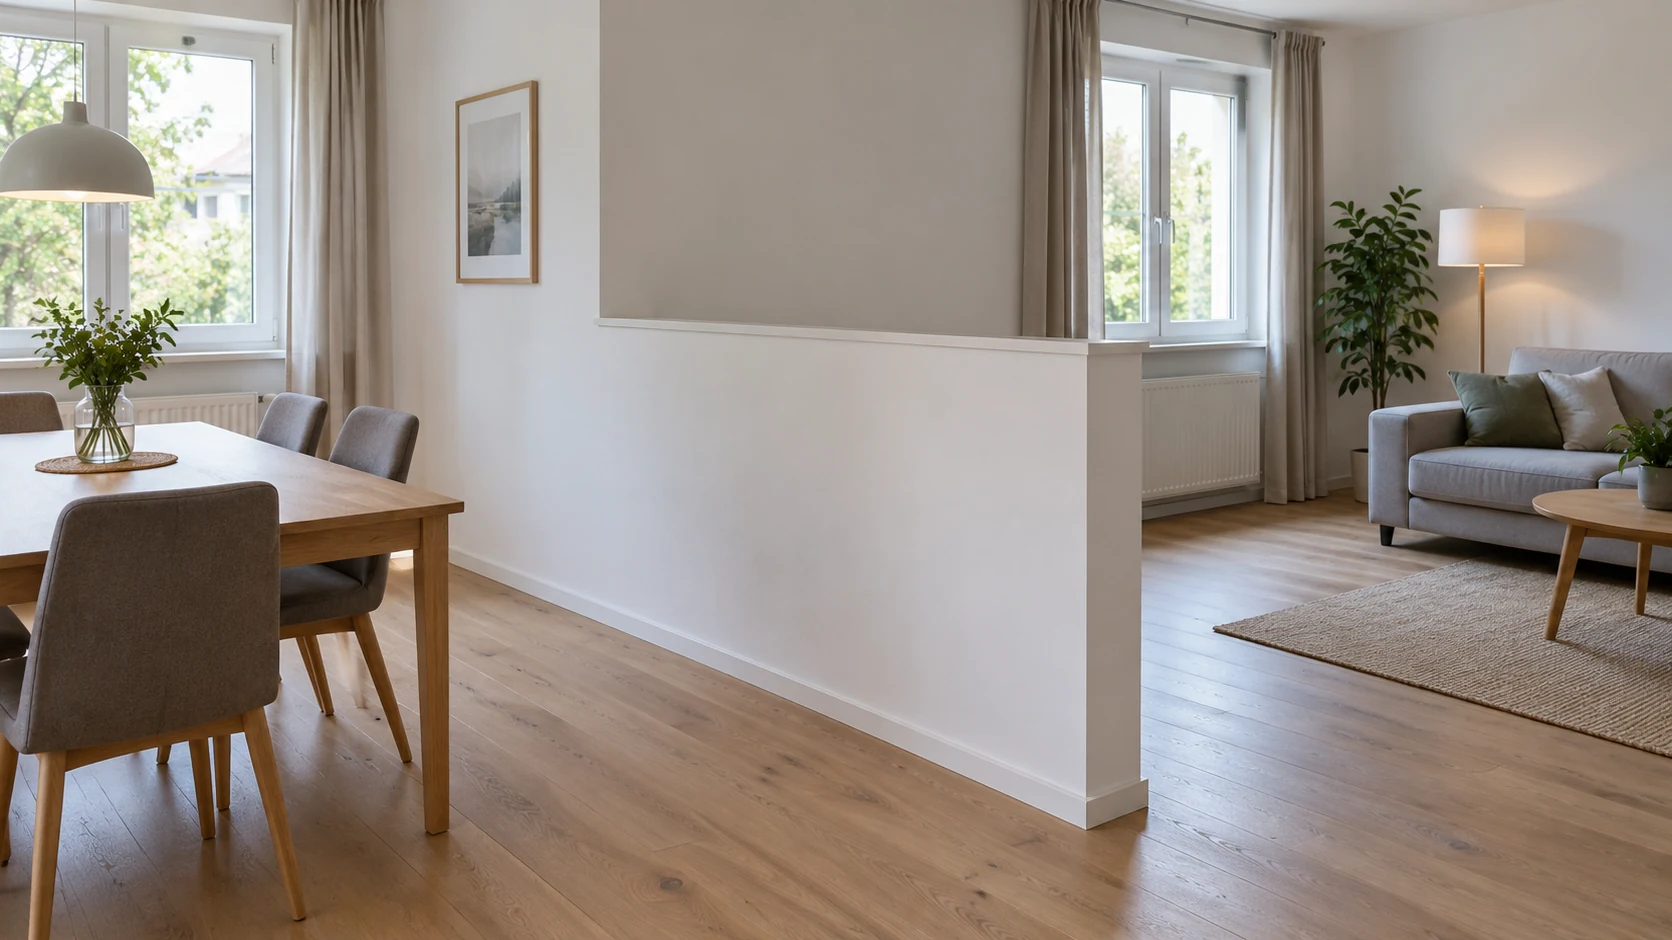
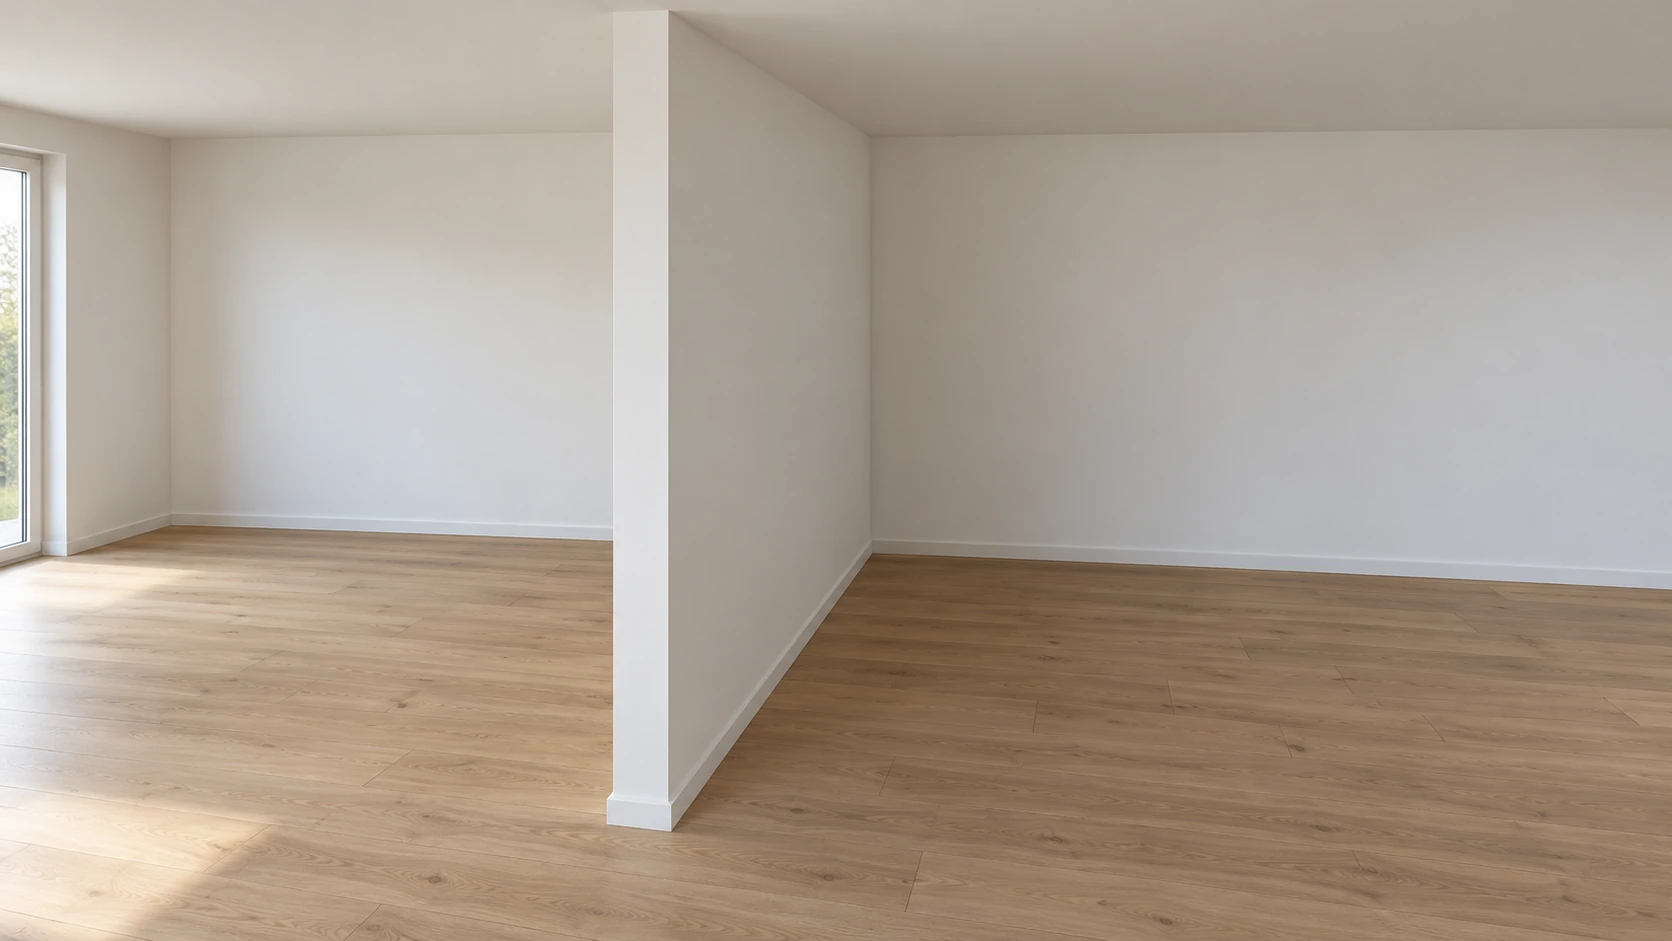
This guide concerns two new full-height partitions: one continues in a straight line and the other meets its side. Agree their connection before closing the frames. A junction with an existing solid wall, the free end of a half-height divider and a ceiling connection need different solutions.
Label the walls A and B, for example, and name each room. Where will there be a bedroom, study or passage? If a partition is to be added to an already boarded wall, expressly include an assessment of the existing construction in the commission. This guide gives no permission to open or alter load-bearing elements.
Relate the junction to finished faces and dimensions
Distinguish the wall centreline, framing line and finished surface on the sketch. A dimension without a reference can produce different usable room widths. Show required passages, doors, furniture and any areas where the final dimension matters particularly.
Record each wall’s complete finished thickness, height and measurement reference. Mark the finished floor level, proposed finishes and ceiling condition. You can prepare an initial sketch; the appointed professional confirms final dimensions and suitable connection substrates.
Complete worksheet T1 for one specific junction. Mark unknown conditions as questions with an owner and a date for the answer. If a wall’s position or thickness changes, return to the combined plan before ordering materials.
| Item | Information to provide | Confirmation needed |
|---|---|---|
| Walls A and B | Combined plan and room names | Which wall continues and which meets it |
| Geometry | Centrelines, finished faces and important passages | Agreed setting-out references and final dimensions |
| Wall constructions | Proposed systems and complete thicknesses | Compatible wall combination and actual detail |
| Floor and ceiling | Known layers, levels and photographs | Suitable substrates and junction solutions |
| Room requirements | Use and neighbouring rooms | Separate acoustic and fire-protection tasks |
| Nearby fittings | Doors, furniture, sockets and service routes | Effect on the junction and unresolved questions |
Agree an actual detail for the selected wall combination
Ask for both wall systems and the document defining their connection: detail reference, edition and scope of application. Matching thickness or similar-looking boards do not establish compatibility. The junction must suit the actual construction of both walls.
Knauf W11 shows W112.de-C1 as a T-junction to a CW profile. It notes an extension to the fire-applicability document and recommends prior coordination. Suitability for your project needs separate confirmation.
The responsible contractor determines framing at the junction, suitable fixing areas, force transfer and both walls’ floor and ceiling connections. Do not choose a fixing from a photograph of a finished corner. Substitute boards, profiles or another manufacturer’s components require renewed compatibility assessment, rather than a decision based only on price.
Assess sound paths and fire protection separately
List the room pairs: perhaps a study to the left of the branching wall, a bedroom to its right and a corridor behind the continuous wall. Identify the sound source and where privacy matters. “Make it quiet” does not adequately describe different transmission directions.
Rigips includes sound transmission through adjoining walls and ceilings in acoustic planning. Discuss the outcome for each room pair with its adjacent construction, doors and service openings, rather than comparing only one partition’s data sheet.
Do not request arbitrary cuts in the boarding or a break copied from an unrelated sketch. Continuity or interruption of boards and framing belongs to the confirmed detail. Required fire protection is assessed separately for the actual configuration; an acoustic solution does not prove it. Specify the subject and responsible provider for any calculations, documents or outcome measurements before work.
Show loads, doors and services near the junction
Mark the fittings on each side: a wall cabinet, shelf, door opening, switch or socket. For objects, provide the actual product, mass, intended use and position. The T shape does not by itself establish any additional load capacity.
Give the combined plan to electrical and other specialist contractors before boarding. Agree routes, devices, maintenance access and positions relative to the framing. A visibly clear strip of wall proves neither the absence of concealed cables nor suitability for an opening.
If a door moves closer to the connection or furniture needs concealed reinforcement, request an updated detail and work sequence. Do not replace required backing with an arbitrary fixing in the finished corner. Dimensions, loads and permissible changes are assessed for the actual system and project conditions.
Describe closure stages and subsequent finishes
Before work, agree which areas must remain accessible for connecting the frames, service work and inspection. Establish when both sides may be closed under the coordinated plan. A schedule containing only “walls finished” can overlook a necessary intermediate handover.
Describe the expected appearance, surface quality, covering and lighting for assessing the finished corner. The contractor selects a compatible solution for internal corners and junctions. An ordinary board joint, a connection between walls and a planned movement joint serve different purposes.
Pass separation or movement requirements to the finishing contractor. Skirting, wallpaper and coatings must take account of the agreed detail; a visually continuous layer does not replace a functioning junction. Also clarify later care, redecoration and whom to contact about new cracks or changes.
Assign checks and record the handovers
Decide who checks geometry and the concealed connection before closure and what records they provide. The inspection scope should match the commission and required functions. Labelled junction photographs help documentation but do not alone prove correct fixings or protective performance.
After finishing, compare visible dimensions, agreed appearance, remaining access and unfinished tasks. Distinguish confirmed technical documentation from simply looking at the corner. Report deviations to your contractual partner with reference to the plan and agreement, without assigning a cause from one photograph.
Worksheet T2 assigns tasks to the appointed participants. Put a responsible person in each blank row before the next stage. HandMen does not provide construction supervision or replace an appointed inspector.
| Task | Who to appoint | Agreed result |
|---|---|---|
| Record geometry | Client and person responsible for the survey | One plan for A and B with clear references |
| Select the detail | Responsible designer and wall contractor | Systems, document, edition and scope |
| Assess substrates | Relevant professionals | Support and connection solutions |
| Check protective requirements | Appointed specialist designers | Requirements and necessary project evidence |
| Coordinate fittings | Service and adjoining-trade contractors | Routes, loads, equipment and access |
| Inspect before boarding | Separately appointed inspector | Records, changes and readiness for closure |
| Hand over for finishes | Wall and finishing contractors | Surface condition and preservation of required joints |
| Hand over the result | Direct contractual partner | Documents, observations, remaining work and contacts |
Define the commission and contract directly with providers
Start your enquiry with the town, combined plan, room photographs and a list of unknown conditions. Ask for separate descriptions of surveying, technical assessment, junction design, both partitions, adjoining work, finishes and documentation. Compare quotes against the same plan revision.
HandMen names the specific independent partner and obtains separate consent before transferring personal data. You agree the site visit, measurements, technical assessment, design, quotation, contract, execution, result evidence, invoice and payment directly with the contractor. HandMen does not carry out construction work, issue technical approvals or confirm individual qualifications.
Required authorisations and registration depend on the actual activities, including additional service installations and painting. Kleinunternehmer is a tax status and does not waive craft requirements. If the plan changes, agree the consequences for scope, price and sequence before work continues.